.svg)


This article will provide a quick guide to getting up and running with Cordova.
In less than 15 minutes, we'll take a simple web application and turn it into a mobile application.
We’ve created a boilerplate Cordova application here, which we'll use as an example.
Overview
Cordova is an Apache Foundation project based on the Phonegap platform. It is a platform for building native mobile applications using HTML, CSS, and JavaScript. It also provides access to native device features such as the camera or accelerometer from JavaScript APIs.
- Step 1: Setup and install dependencies
- Step 2: Run the application locally
- Step 3: Setup Android Emulator
- Step 4: Build and run on emulators
- Step 5: Run on an Android device
- Grunt steps
- Debugging on a device
- Native mobile APIs
- Why Cordova?
Step 1: Setup and install dependencies
Before we begin, make sure you have the latest node.js, npm, and JRE and JDK for Java.
Download the boilerplate project by cloning git@github.com:bitovi/cordovaboilerplate.git.
Then install its dependencies.
git clone git@github.com:bitovi/cordovaboilerplate.git;
cd cordovaboilerplate;
npm install;
sudo npm install -g bower grunt-cli ios-sim;
bower install;
The example project uses StealJS as its dependency manager and GruntJS as its build and deployment task manager, so this guide will have some Steal and Grunt specific steps. Those steps could apply to any dependency manager/build system.
Cordova, grunt, and steal have been installed locally via dependencies defined in package.json and bower.json. Cordova command line tools, which support a set of commands used to build, deploy, and manage the Cordova app, are now also installed globally.
Step 2: Run the application locally
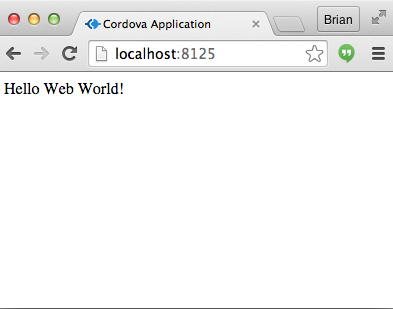
Next we’ll run the simple Hello World web application locally, so we know what we’re expecting on the mobile applications.
To start the server:
grunt serve
Open http://localhost:8125 in your browser, and you should see the following:
Step 3: Setup Android Emulator
To setup an Android emulator in OS X, make sure you have brew and XCode installed, and run:
brew install android-sdk ant
Next you need to make sure the ANDROID_HOME environment variable is set. Open ~/.bash_profile and add the following line of configuration:
export ANDROID_HOME=/usr/local/opt/android-sdk
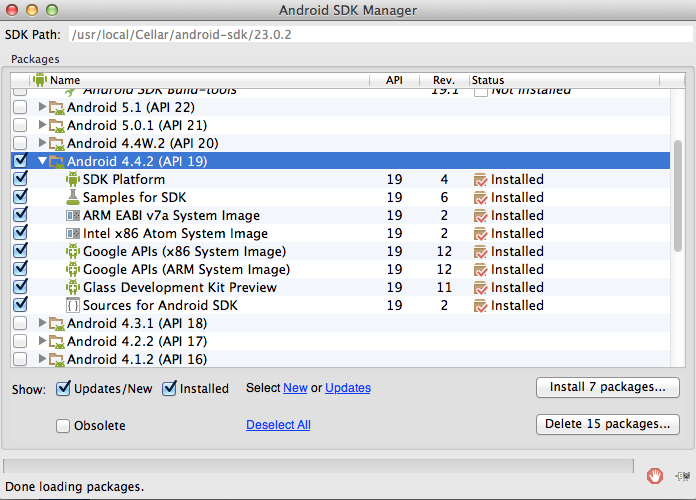
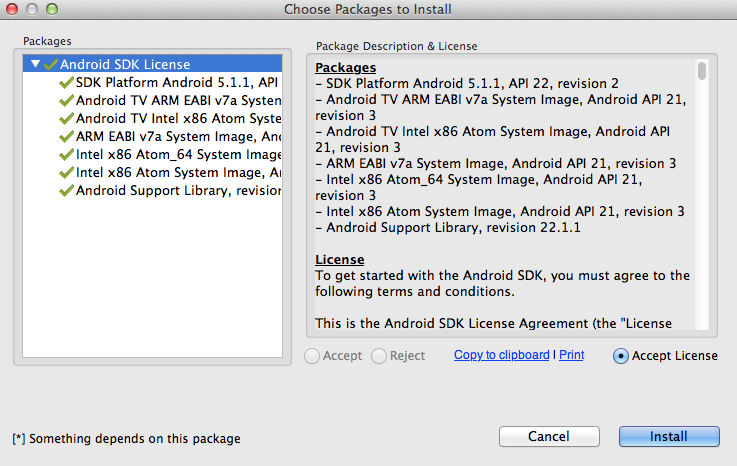
Now from a new terminal window, launch android and install the SDK for Android 5.0.1 (API 21) through the interface below.
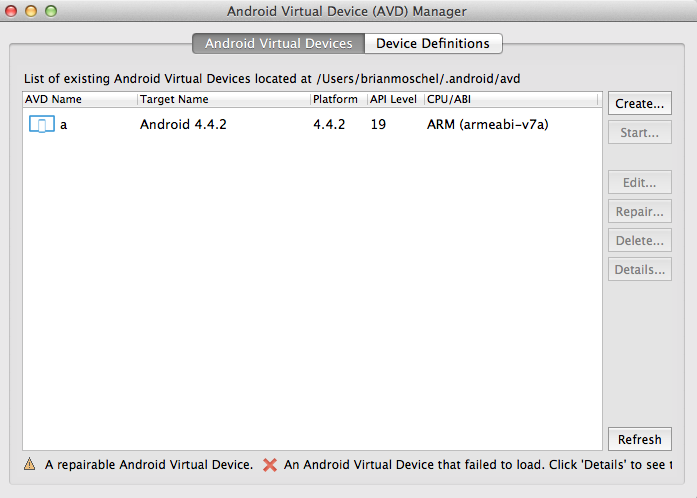
Then run android avd and create a virtual device for emulation.
Setting up an iOS emulator shouldn’t be necessary, assuming you’re using OS X and have XCode installed. XCode comes with a pre-installed iOS Simulator.
Step 4: Build and run on emulators
First, you must do one-time setup of the cordova directory:
grunt init
You should only even have to do this once, or after the build/ directory has been cleaned (and occasionally to recover from strange states).
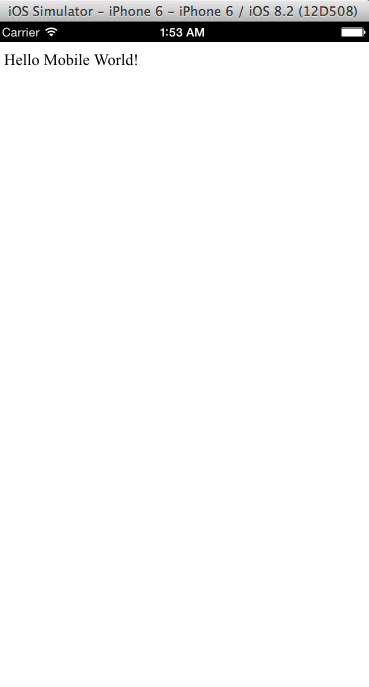
Next, create a build for iOS:
grunt build ios
After the build completes, you’ll see the iOS simulator launch, and the Cordova wrapped hello world application will open:
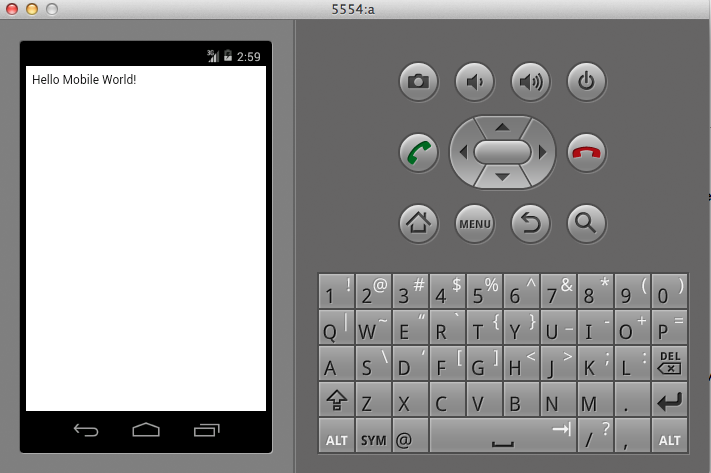
Finally, do the same for Android:
grunt build android
The Android emulator launches with the same application:
You’ll notice after building that your directory structure is the following:
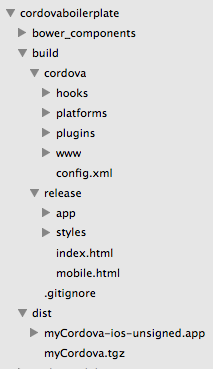
The dist directory contains an unsigned application and a compressed version of the built web app.
The build directory contains release - an uncompressed version of the web app - and cordova - the entire cordova working directory, including the built web app in www.
Its worth noting that the build process copies the application source code into ./build/cordova/www, but serves the Cordova app from ./build/cordova. Since the original web server root was the www folder, all the paths in your application need to be relative for the application to work inside of Cordova. This means that paths to scripts, link tags, API requests, and even image paths need to be all relative, not absolute.
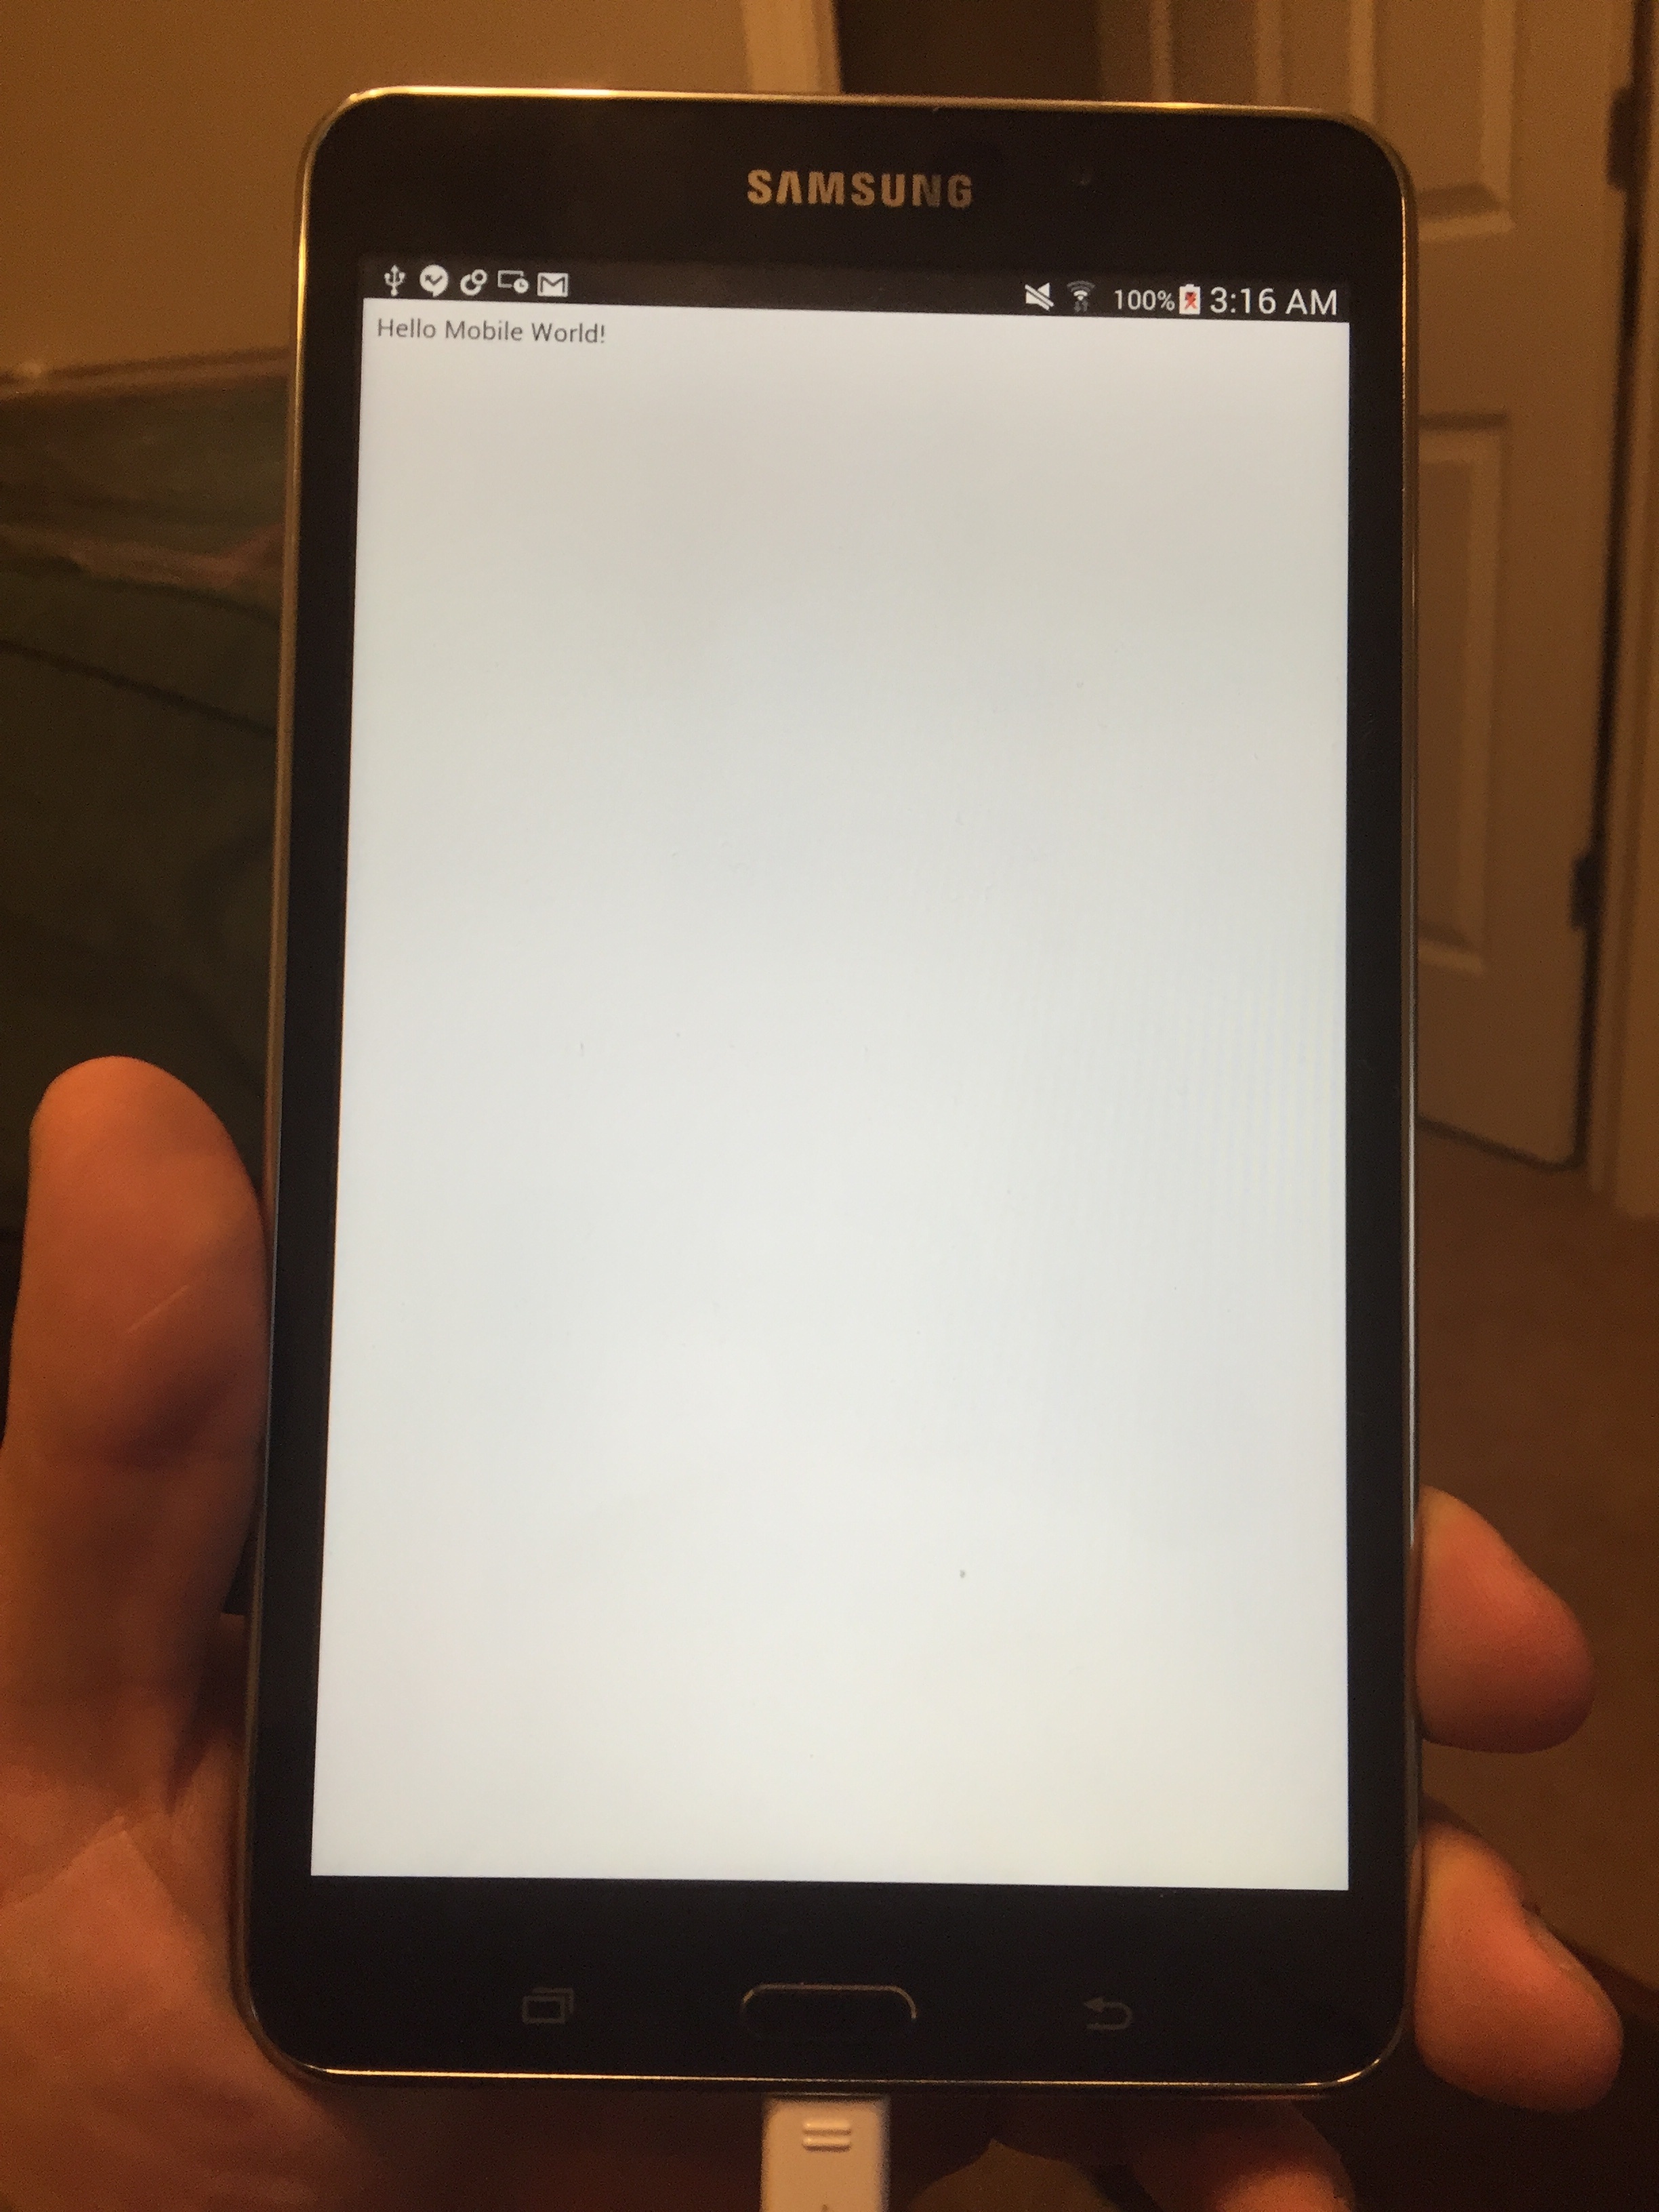
Step 5: Run on an Android device
If this is your first time deploying an application to your Android phone, you first have to enable developer options. Then you have to go to Settings > Developer options > USB debugging and check that box.
Plug in your device via USB and simply run grunt build android. Cordova will automatically deploy the application on your android device:
Step 6: Run on an iPhone
As a prerequisite to running any locally developed application on your phone, you must create an Apple developer account, and set up XCode and your device to be connected to this account.
After running the iOS build, open the build/cordova/platforms/ios/ directory, and open myCordova.xcodeproj in XCode.
Connect your phone via USB cable.
Press the “Run” icon in the upper left corner (you should be able to select your connected device as the target). XCode should then transfer the application to your phone and launch it.
That's it! Now you've seen how easy it is to take an existing web application, and package it into a mobile app that runs on Android or iOS. You can fork the boilerplate repository, copy the relevant sections of the grunt script, and try it on your own application!
Grunt steps
Let’s discuss what is happening when you run grunt build android in Gruntfile.js:
grunt.registerTask('build', [
    'clean:dist',
    'base-build',
    grunt.option("no-web") ? 'noop' : 'compress:release',
    'copy:cordovaConfig',
    'copy:cordova',
    (grunt.option("no-android") && grunt.option("no-ios") ?
     "noop" : 'cordovacli:build'),
    'copy:app',
    'copy:apk']);
grunt.registerTask('android', ['base-build',
                               'copy:cordovaConfig',
                               'copy:cordova',
                               'cordovacli:android']);
grunt.registerTask('base-build', [
    'clean:www',
    'less_imports',
    'less:dist',
    'steal-build',
    'copy:index',
    'copy:static'
]);
- Old distributable directories are cleaned and removed.
- The steal build process is run to compile and minify JavaScript and CSS/LESS files.
- Application and Cordova directories are copied into their built destinations, and details like the version number are filled into the files.
- The Cordova build script is run to create the Android or iOS executables.
- The .apk and .app files are moved to their final destination after the build
- The cordovacli emulator (or run) command launches android either through the emulator or the connected device to launch the application.
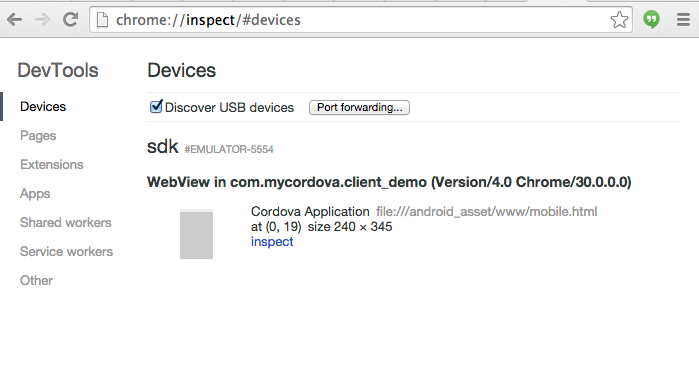
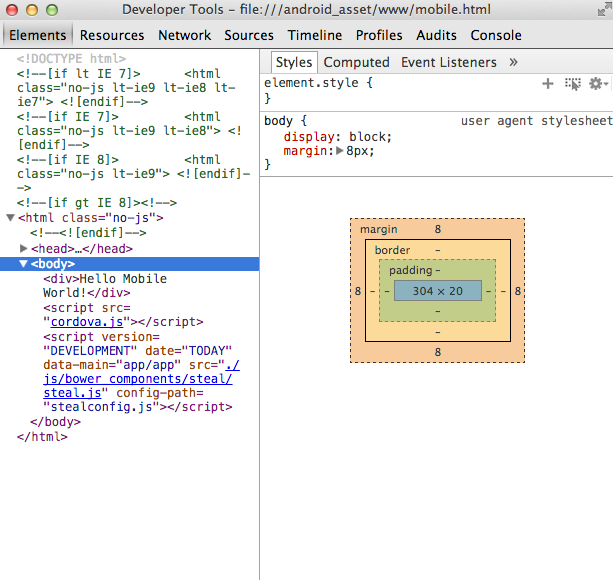
Debugging on a device
To debug Chrome on Android, there is a Remote Debugging feature that will allow you to to debug the app from your desktop chrome. Turn on USB debugging on your phone, and visit chrome://inspect in your desktop browser. See here for more detailed instructions.
To debug Safari on iOS, similarly visit your desktop Safari browser and open the Develop menu. If your phone is connected via USB, or your simulator is running, you should see the device in the dropdown. Click on the device and web page to open a debugger window.
Native mobile APIs
In most cases, to use a native mobile API in cordova, add the plugin to your plugins list - in Gruntfile.js - run grunt init, and use the web API wrapper around it.
For example, to add vibration support, include org.apache.cordova.vibration in the cordova plugins list in the Gruntfile, run grunt init, and add code like the following in your web application:
// Vibrate for 3 seconds
navigator.vibrate(3000);
Other examples of these native plugins include geolocation, barcode scanner, or status bar. These each give you control over a part of the device that you normally can’t access through a web application. The Cordova Plugin Registry is a good resource to find more plugins and their documentation.
Why Cordova?
At Bitovi, we’re big fans of building applications with web technologies and using build tools to target other platforms like iOS, Android, and desktop. Cordova wraps your web application in a WebView, hooks it up to native APIs like vibration and geolocation, and deploys it in a native container for various platforms.
The amazing advantage Cordova provides is the ability to create several native applications with a single codebase. Why have separate iOS, Android, and web teams when you can have simply a web team? When a requirement changes, rather than making this change in several places (iOS, Android, and mobile web app), the change only needs to be made in one place.
Wrapping up
Using Cordova with CanJS, or any other application framework, is simple. After the initial (very small) cost of setting up Cordova, there is a simple build process in place to deploy any web application to native applications. It's never been easier to build an app that reaches users on every device.
We've used this approach to build a single app that reaches users on all mobile platforms at gThrive with their farm analytics mobile application, and at Mindjet with their Tasks mobile application. I encourage you to use the boilerplate application as a starting point and give it a try on your apps! It's amazing how cheaply you can create native versions of your web applications that reach millions of potential users in the Apple and Android app stores.
If you work for a company interested in the technologies we’ve discussed, drop us a line and we’d love to talk to you about working together.