


Map View page
Create a component to hold our Google map view. This lesson carries over from the last and will use the same CodePen.
Overview
In this part we will:
- Create a custom element named
google-map-view. - Initialize the Google maps API.
- Learn about Shadow DOM and
connectedCallback.
Problem
Create a component where we can display a Google map. Google maps need to be attached to a DOM element, so use Shadow DOM to encapsulate the HTML and CSS that Google maps builds.
How to Solve This Problem
- Add the
scriptelement for the Google map API. - Create a custom element that contains a Shadow DOM with the contents from the
templatein the previous exercise. - Set up the Google map only when the custom element is connected to the DOM.
Technical requirements
Use the existing #gmap-template template, and append it to the host component’s Shadow DOM. Use this script tag to enable the Google maps API:
<script src="https://maps.googleapis.com/maps/api/js?key=AIzaSyD7POAQA-i16Vws48h4yRFVGBZzIExOAJI"></script>
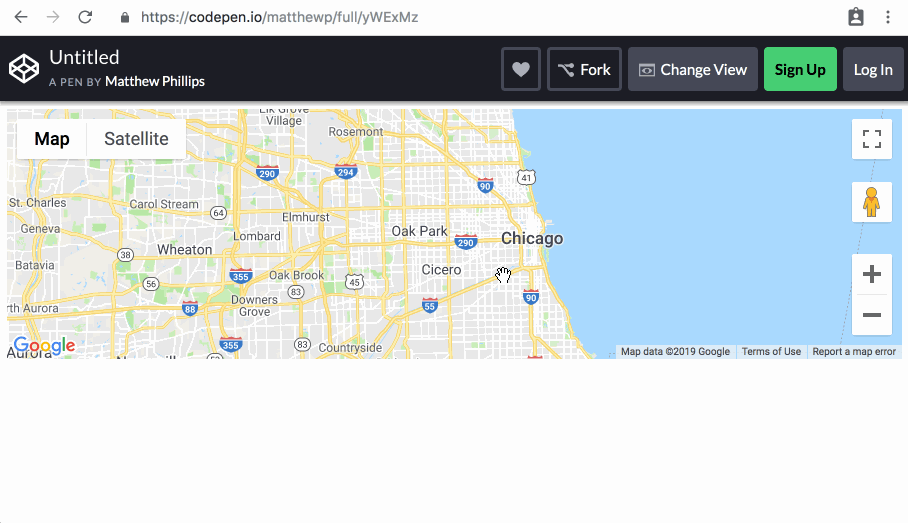
This snippet will create a Map centered on Chicago:
new google.maps.Map(element, {
  zoom: 10,
  center: {
    lat: 41.881,
    lng: -87.623
  }
});
Where element is the element the Google map will mount to.
What you need to know
- How to create Shadow DOM for an element.
- Which callback to use to instantiate a new
Mapfor the Google map.
Shadow DOM
(Most) elements can have a shadowRoot property. This is a special version of a DocumentFragment that is completely encapsulated. You cannot query the nodes within it from the outside (like document.querySelector('.gmap')). Styles within will not affect DOM outside.
You can create a shadowRoot for your element by calling attachShadow.
<template>
  <p>Hello there</p>
</template>
<script type="module">
let template = document.querySelector('template');
let fragment = document.importNode(template.content, true);

let el = document.createElement('div');
el.attachShadow({ mode: 'open' });
el.shadowRoot.append(fragment);

document.body.append(el);
</script>
You can create closed shadowRoots by using { mode: 'closed' }. When you do this, the shadowRoot property will not be added to the element. To be able to append items to the shadowRoot, keep a reference to it from the return value of attachShadow().
<template>
  <p>Hello from a closed shadow</p>
</template>
<script type="module">
let template = document.querySelector('template');
let fragment = document.importNode(template.content, true);

let el = document.createElement('div');
let shadow = el.attachShadow({ mode: 'closed' });

console.log(el.shadowRoot); // -> null

shadow.append(fragment);
document.body.append(el);
</script>
connectedCallback
For elements with side-effects (such as those that make network requests), it’s best to do those side effects in the connectedCallback.
connectedCallback is a lifecycle method for custom elements. It is called when the element is connected, which can occur in one of these scenarios:
- The HTML parser sees the element within the page.
- An element node is inserted into the page like
document.body.append(node).
The connectedCallback method will be called each time the element is inserted. If an element is inserted, removed, and reinserted, the connectedCallback will be called twice.
<my-element></my-element>

<script type="module">
class MyElement extends HTMLElement {
  constructor() {
    super();
    this.timesConnected = 0;
  }

  connectedCallback() {
    this.timesConnected++;
    console.log('Connected', this.timesConnected, 'times');
  }
}

customElements.define('my-element', MyElement);

let el = document.querySelector('my-element');

el.remove();
document.body.append(el);
el.remove();
document.body.append(el);
</script>
Solution
✏️ Building off of the template we created in the previous section, now extend HTMLElement to create a custom element.
Click to see the solution
<style>
  html,
  body {
    height: 100%;
  }
  body {
    font-family: "Catamaran", sans-serif;
    background-color: #f2f2f2;
    display: flex;
    flex-direction: column;
    margin: 0;
  }
</style>
<script src="https://maps.googleapis.com/maps/api/js?key=AIzaSyD7POAQA-i16Vws48h4yRFVGBZzIExOAJI"></script>

<google-map-view></google-map-view>

<template id="gmap-template">
  <style>
    .gmap {
      width: 100%;
      height: 250px;
      background-color: grey;
    }
  </style>
  <div class="gmap"></div>
</template>
<script type="module">
const template = document.querySelector('#gmap-template');

class GoogleMapView extends HTMLElement {
  constructor() {
    super();
    this.attachShadow({ mode: 'open' });

    let frag = document.importNode(template.content, true);
    this.shadowRoot.append(frag);
  }

  connectedCallback() {
    let gmap = this.shadowRoot.querySelector('.gmap');
    this.map = new google.maps.Map(gmap, {
      zoom: 10,
      center: {
        lat: 41.881,
        lng: -87.623
      }
    });
  }
}

customElements.define('google-map-view', GoogleMapView);
</script>