


Our first component page
Build a <my-greeting> component to learn the APIs. It will be able to display a greeting, and receive a name parameter either from an attribute or a JavaScript property.
Overview
In this part, we will:
- Learn how to use a web component in HTML.
- Write the JavaScript necessary for registering a custom element.
- Accept arguments, in the form of HTML attributes and JavaScript properties, to our component and respond when they change.
Problem
We want to build a hello world component. To do that, create a custom element that displays the greeting Hello ${name} in its innerHTML. It should accept the name argument either as an attribute or as a property.
It should:
- Show an initial greeting of Hello world.
- After 3 seconds it should set an attribute to change the name to your name.
- After 3 more seconds it should set a property to change the name to another name (your pet, a family member, Spiderman, whatever you want).
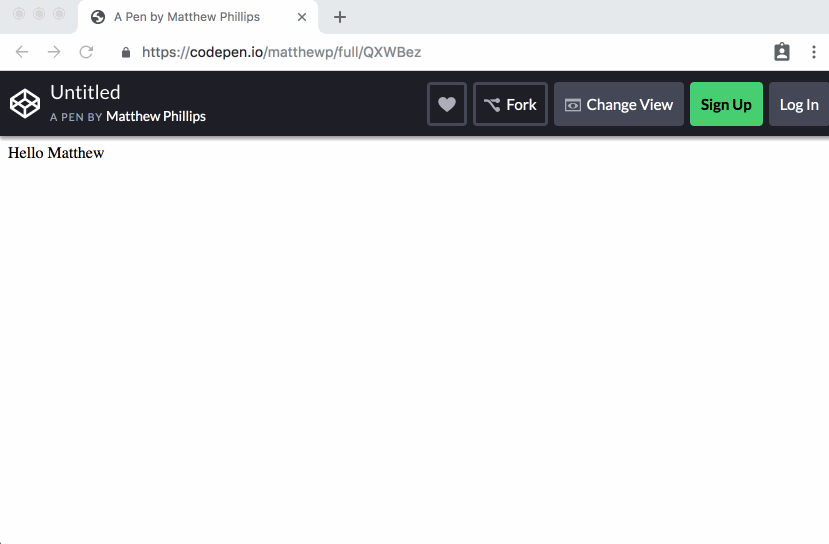
It looks like this:
How to Solve This Problem
- Create a class that extends
HTMLElement. - Create a method on the class that renders
Hello ${name}. - Set up attributes using
observedAttributesandattributeChangedCallback. - Use a setter to accept the property.
- Add the tag to the page.
- Use
setTimeoutto change the name as described in the Problem section above.
What you need to know
Using custom elements
Custom elements can be used the same way that regular elements can; with one bonus included. You can:
Include them directly in HTML like so:
<my-greeting></my-greeting>Build them using the JavaScript DOM APIs such as:
let element = document.createElement('my-greeting');

// OR provide HTML like this
otherElement.innerHTML = `<my-greeting></my-greeting>`;
And the bonus, call their constructors (you can’t do this with normal elements):
let element = new MyGreeting();

// This is a DOM node now, do the usual things with it:
document.body.appendChild(element);
Let’s create our first element by adding it to the HTML.
<my-greeting></my-greeting>
Click the "Run in your browser" button above and notice that... nothing happens. In order to do anything useful, we have to register our element.
Registering our tag
The custom elements API provides a way to hook into the browser’s HTML parser and receive callbacks whenever a certain tag is encountered. Think about that; your code can run before the page has even finished loading (provided your script has run). That’s a lot of power.
Custom elements are classes that extend HTMLElement. This is the base class from which all elements, both built-in and custom, derive. For example the <progress> element is an instance of HTMLProgressElement.
To register our own tag we first extend HTMLElement like so:
class MyGreeting extends HTMLElement {

}
Once you’ve extended HTMLElement you then need to give it a tag name and pass that, along with the class into customElements.define(). Since we want to print Hello world we can do that in the constructor:
<my-greeting></my-greeting>
<script type="module">
class MyGreeting extends HTMLElement {
  constructor() {
    super();
    this.innerHTML = `Hello world`;
  }
}

customElements.define('my-greeting', MyGreeting);
</script>
Responding to attribute changes
A component is only useful if it can receive parameters just like functions do through function arguments. There are two primary ways for a web component to receive arguments:
- Through attributes like
foo="bar". - Through properties in JavaScript like
element.foo = 'bar';
In this exercise we are doing both.
attributeChangeCallback
In order to understand attributes in custom elements we’ll learn about our first lifecycle callback. attributeChangedCallback is a method you define on your element class. It will be called back with the name of the attribute, as well as the new and old value.
class MyGreeting extends HTMLElement {
  attributeChangedCallback(attributeName, oldValue, newValue) {
    // Do whatever you want here
  }
}
However, in order to get attribute change notification you must define which attributes should be observed. This means that you aren’t notified when any arbitrary attribute is added; only those you predefine. This is a performance optimization tradeoff that was made when designing the API.
To define which attributes should be observed you add a static getter observedAttributes on the class.
class MyGreeting extends HTMLElement {
  static get observedAttributes() {
    return ['name'];
  }

  attributeChangedCallback(name, oldValue, newValue) {
    // Do something here
  }
}

customElements.define('my-greeting', MyGreeting);
Responding to property changes
This one is a bit easier if you are already familiar with JavaScript classes. Since an element is a JavaScript object it can receive properties the same way any JavaScript class can.
We can add a setter to be notified when the name property is changed.
Below is a greeting class that uses setters
class MyGreeting extends HTMLElement {
  get name() {
    return this._name;
  }

  set name(value) {
    this._name = value;
  }
}
In the above we change it so that if an attribute changes it just calls the property setter. The property then saves its value in a "private" variable this._name.
This mirrors the way most built-in elements work; changing a property does not reflect in the attribute; but changing an attribute does change the value of the property.
Solution
✏️ The following is a full greeting element that accepts name attribute and property, rendering when either changed.
Click to see the solution
<my-greeting name="world"></my-greeting>
<script type="module">
class MyGreeting extends HTMLElement {
  static get observedAttributes() {
    return ['name'];
  }

  constructor() {
    super();
    this._name = this.getAttribute('name');
    this.render(this._name);
  }

  attributeChangedCallback(attributeName, oldValue, newValue) {
    this[attributeName] = newValue;
  }

  render(name) {
    this.innerHTML = `Hello ${name}`;
  }

  get name() {
    return this._name;
  }

  set name(value) {
    this._name = value;
    this.render(value);
  }
}

customElements.define('my-greeting', MyGreeting);

// Let’s modify the element
let element = document.querySelector('my-greeting');

setTimeout(() => {
  element.setAttribute('name', 'Matthew');
}, 3000);

setTimeout(() => {
  element.name = 'Wilbur';
}, 6000);
</script>