


Setting Up Your Environment page
Learn how to set up a React environment using Vite.
Overview
In this section, we will:
- Learn about Node.js
- Recommend tools to use in React development
- Generate a new React application using Vite
- Set up testing
- Verify that the new application can be served to the browser and tested
Objective 1: Install prerequisites
Install a code editor
There are a variety of code editors that support React, the most popular is Microsoft’s Visual Studio Code. VS Code is available for most operating systems and has extensive support for React and JSX including: code completion, code highlighting, and linting. It’s also used by cloud environments like CodeSandbox and StackBlitz, making it easy to switch among different runtime environments.
These VS Code extensions will help you format your code consistently:
Install Node.js and npm
Our solution requires the Node.js JavaScript runtime environment. Node.js and its included package manager npm will be used to do a variety of tasks including: installing required packages, running the development server, executing tests, and building the application for deployment.
Setup 1
This course requires Node.js version 22 (we suggest using the long-term support (LTS) release of version 22).
The simplest approach is to download the Node.js installer for your operating system. Any installation of Node.js will also include npm. Note: if using a terminal, then you may need to close and reopen it for the changes to the path to take effect.
Alternatively, you can install Node.js via package manager; this is the reccomendation for most professional setups.
During the installation process you may be prompted to make selections or install prerequisites, use the default selections and proceed with the installation.
The installation process can take 10 to 15 minutes to complete.
Verify 1
✏️ Run the following command in a terminal to verify Node.js is installed correctly.
🔦 If you encounter an error running node --version you may need to restart for node to be completely installed.
node --version
The output of the command will be the current version of Node.js, we expect it to start with "v22".
✏️ Run the following command in a terminal to verify npm is installed correctly:
npm --version
The output of the command will be the current version of npm, we expect it to start with "10".
Objective 2: Generate the “Place My Order” application
Create a new React application named “Place My Order” that supports TypeScript and can be served and tested.
Use Vite to generate a new React application
For this course we will use Vite to manage our React project. Vite is a Node.js application that simplifies the creation, development, testing, and building of web application frontends. We will use a Vite "template" to specify that we are creating a React project with support for TypeScript.
After generating the React app the following folders and files will be included in the "place-my-order" folder:
├── public/
├── src/
│   ├── assets/
│   ├── App.css
│   ├── App.tsx
│   ├── index.css
│   ├── main.tsx
│   ├── vite-env.d.ts
├── index.html
├── package.json
├── tsconfig.json
├── vite.config.ts
/public contains static assets which will be served up as part of your website. You can include stylesheets, images and other static files.
/src is where all your React components should be stored alongside any logic for your app. This will already be seeded with a small sample app.
index.html is the entry point for your users. This is what loads main.tsx.
main.tsx is the entry point of the React application. This is where our application is initialized and mounted in the DOM.
App.tsx is your React application itself.
Setup 2
✏️ Open a terminal and move to a location where you want to generate your React application, then execute the following command:
npm create vite@5 place-my-order -- --template react-ts
The command runs npm, using vite to create a new application named "place-my-order". Vite will use its "react-ts" template to generate the React application with TypeScript support.
Now cd into the new directory created for the application and install the required packages:
cd place-my-order
npm install
Verify 2
Once you have completed the previous step you will be able to start the development server and see the default welcome page.
The development server is a useful tool. When it starts, it transpiles the TypeScript and JSX code into JavaScript and bundles it for delivery to the browser. It also watches for changes to the source code, and when they occur, it repeats the process, then causes the browser to reload with those changes.
✏️ Run the command:
npm run dev
The server will output the "Local" URL for the dev server, copy and paste it into a browser. The browser will display a welcome page with "Vite + React." You can use Control-C to stop the dev server.
Having issues with your local setup? See the solution in StackBlitz or CodeSandbox.
Objective 3: Add testing infrastructure
Testing code with React Testing Library
We will create unit tests for our application using the React Testing Library. The unit tests for components will be focused on verifying that a component creates the correct DOM output based on the state the component is provided. We also need to create tests for any React custom Hooks we create to ensure they provide the expected results.
Setup 3
Before we can create or execute any tests, run the following command to install the packages related to the React Testing Library:
✏️ Run:
npm install --save-dev vitest@1 @testing-library/react@14 @testing-library/user-event@14 @testing-library/jest-dom@6 jsdom@24
✏️ Update vite.config.ts to be:
/// <reference types="vitest" />
import { defineConfig } from "vite"
import react from "@vitejs/plugin-react"

// https://vitejs.dev/config/
export default defineConfig({
  plugins: [react()],
  test: {
    css: false,
    environment: "jsdom",
    globals: true,
  },
})
Once the packages are installed and the config file is updated, open the "package.json" file (in the project’s root) and add the "test" line to the scripts object; this simplifies running tests using Vite.
✏️ Update package.json to be:
{
  "name": "place-my-order",
  "private": true,
  "version": "0.0.0",
  "type": "module",
  "scripts": {
    "test": "vitest",
    "dev": "vite",
    "build": "tsc && vite build",
    "lint": "eslint . --ext ts,tsx --report-unused-disable-directives --max-warnings 0",
    "preview": "vite preview"
  },
  "dependencies": {
    "react": "^18.2.0",
    "react-dom": "^18.2.0"
  },
  "devDependencies": {
    "@bitovi/eslint-config": "^1.8.0",
    "@testing-library/jest-dom": "^6.4.2",
    "@testing-library/react": "^14.2.1",
    "@testing-library/user-event": "^14.5.2",
    "@types/react": "^18.2.43",
    "@types/react-dom": "^18.2.17",
    "@vitejs/plugin-react": "^4.2.1",
    "eslint": "^8.55.0",
    "jsdom": "^24.0.0",
    "prettier": "^3.2.5",
    "typescript": "^5.2.2",
    "vite": "^5.0.8",
    "vitest": "^1.2.2"
  }
}
Verify 3
After completing the previous steps you will be able to run unit tests. Execute the command:
npm run test
and "No test files found" will be written to the console.
Note: may need to set execution policy if running on Windows.
Set-ExecutionPolicy -ExecutionPolicy Bypass -Scope CurrentUser
Having issues with your local setup? See the solution in StackBlitz or CodeSandbox.
Objective 4: Update our first page
Now, let’s updated our generated app to include our own header:
Setup 4
Before we begin adding any content, its a good idea to clean up generated files and add code quality tools.
Remove these generated files that we won’t need. Some projects do need them, but this one won’t.
public/vite.svgsrc/assetssrc/App.csstsconfig.node.json.eslintrc.cjsoreslint.config.js
✏️ Uninstall unneeded packages and Install our eslint config and prettier:
npm uninstall @typescript-eslint/eslint-plugin @typescript-eslint/parser eslint-plugin-react-hooks eslint-plugin-react-refresh
npm install --save-dev @bitovi/eslint-config prettier
✏️ Update tsconfig.json to be:
{
  "compilerOptions": {
    "module": "ESNext",
    "moduleResolution": "bundler",
    "target": "ES2020",
    "lib": ["ES2020", "DOM", "DOM.Iterable"],
    "jsx": "react-jsx",

    "incremental": true,
    "strict": true,
    "noEmit": true,

    "allowImportingTsExtensions": true,
    "allowJs": false,
    "allowSyntheticDefaultImports": true,
    "esModuleInterop": true,
    "forceConsistentCasingInFileNames": true,
    "isolatedModules": true,
    "noFallthroughCasesInSwitch": true,
    "noImplicitReturns": true,
    "noUnusedLocals": true,
    "noUnusedParameters": true,
    "resolveJsonModule": true,
    "skipLibCheck": true,
    "useDefineForClassFields": true
  },
  "include": ["src"]
}
✏️ Update package.json to be:
{
  "name": "place-my-order",
  "private": true,
  "version": "0.0.0",
  "type": "module",
  "scripts": {
    "typecheck": "tsc",
    "eslint": "eslint vite.config.ts src",
    "prettier": "prettier --check vite.config.ts src",
    "test": "vitest",
    "dev": "vite",
    "build": "tsc && vite build"
  },
  "eslintConfig": {
    "root": true,
    "extends": "@bitovi/eslint-config/react"
  },
  "prettier": {
    "semi": false,
    "trailingComma": "all"
  },
  "dependencies": {
    "react": "^18.2.0",
    "react-dom": "^18.2.0"
  },
  "devDependencies": {
    "@bitovi/eslint-config": "^1.8.0",
    "@testing-library/jest-dom": "^6.4.2",
    "@testing-library/react": "^14.2.1",
    "@testing-library/user-event": "^14.5.2",
    "@types/react": "^18.2.43",
    "@types/react-dom": "^18.2.17",
    "@vitejs/plugin-react": "^4.2.1",
    "eslint": "^8.55.0",
    "jsdom": "^24.0.0",
    "prettier": "^3.2.5",
    "typescript": "^5.2.2",
    "vite": "^5.0.8",
    "vitest": "^1.2.2"
  }
}
Verify 4
✏️ Create src/App.test.tsx and update it to be:
import "@testing-library/jest-dom"
import { render, screen } from "@testing-library/react"
import { describe, expect, it } from "vitest"

import App from "./App"

describe("App component", () => {
  it("renders correctly and contains the expected text", () => {
    render(<App />)
    expect(
      screen.getByText("Place My Order App: Coming Soon!"),
    ).toBeInTheDocument()
  })
})
✏️ Run the new code quality scripts.
npm run typecheck
npm run eslint
npm run prettier
These scripts will pass when the solution has been implemented properly.
Exercise 4
This exercise will finish the objective of creating a new React application with TypeScript support that can be served and tested. To complete the exercise make code changes to accomplish the following:
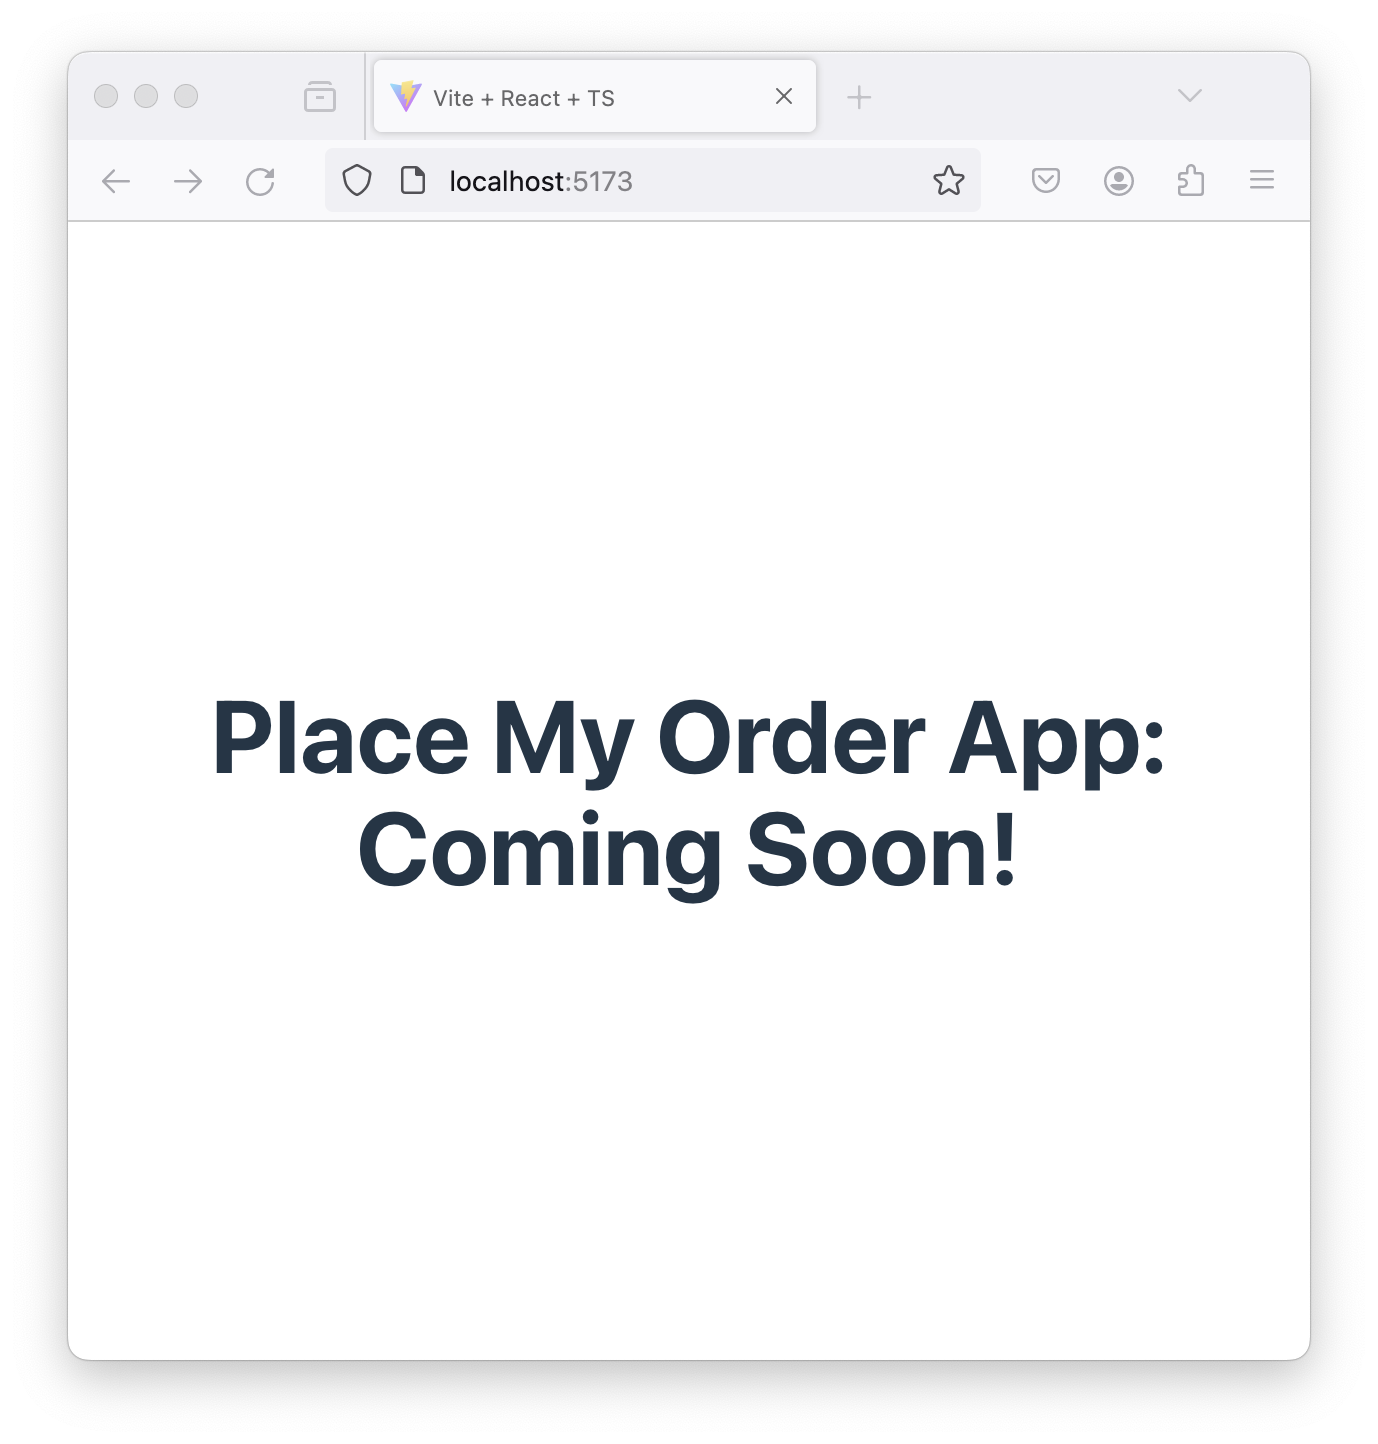
- The root
/web page shall display a single heading element with the text "Place My Order App: Coming Soon!" - Make sure you remove the references to assets at the top, since they're no longer in use. (If you have the reccomended VS Code plugins installed, it should warn you about these!)
- Resolve any error from the code quality scripts.
Solution 4
Click to see the solution
- In your code editor open the file
src/App.tsx - Delete all the
importlines. - Delete the line
const [count, setCount] = useState(0) - Replace the value of the return statement to be a single
<h1>element - The source code of App.tsx should now look like the example below.
✏️ Update src/App.tsx to be:
const App: React.FC = () => {
  return (
    <>
      <h1>Place My Order App: Coming Soon!</h1>
    </>
  )
}

export default App
Having issues with your local setup? See the solution in StackBlitz or CodeSandbox.
Next steps
Next, let’s learn about JSX to understand React’s templating language.