


Generate an App page
Learn how to generate an Angular 17 application with its command line interface (CLI).
How to Use This Guide
This guide will walk you through building an application in Angular 17. Each page of the guide is based on building a new feature, and may have multiple "problems" to solve. Each problem will be explained and include requirements and any set-up steps needed. Most problems will also include unit tests to update to verify the solution has been implemented correctly. The ✏️ icon will be used to indicate when commands need to be run or when files need to be updated. If you have any issues or suggestions as you move through this training, we’d love you to submit a GitHub issue for it! 💖
Overview
In this part, we will:
- Explore tools that aid Angular Development
- Install Angular’s CLI
- Generate a new app
- Look at the files generated by the CLI
- Learn to serve our app
Problem
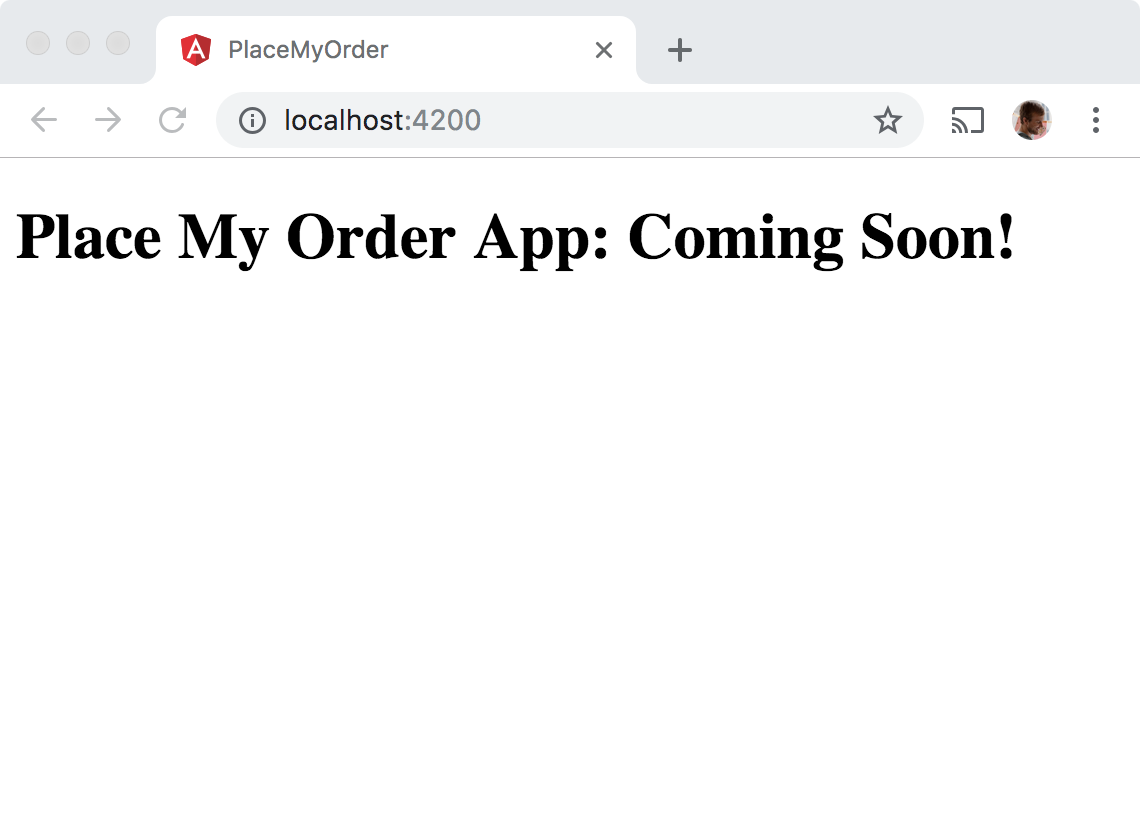
We want to create a new Angular application and update it to say Place My Order App: Coming Soon! in an <h1> element.
What you need to know
To complete this exercise, you are going to want:
- Select a code editor / IDE
- To install Angular’s CLI
- Use the CLI to generate a new app
- Understand the files generated
- Serve the app
Selecting a code editor
If you’re looking for a code editor (aka IDE) to improve your Angular development - VS Code is widely used by the community but other editors like Webstorm are fine as well. Plugins can go a long way in aiding the development process.
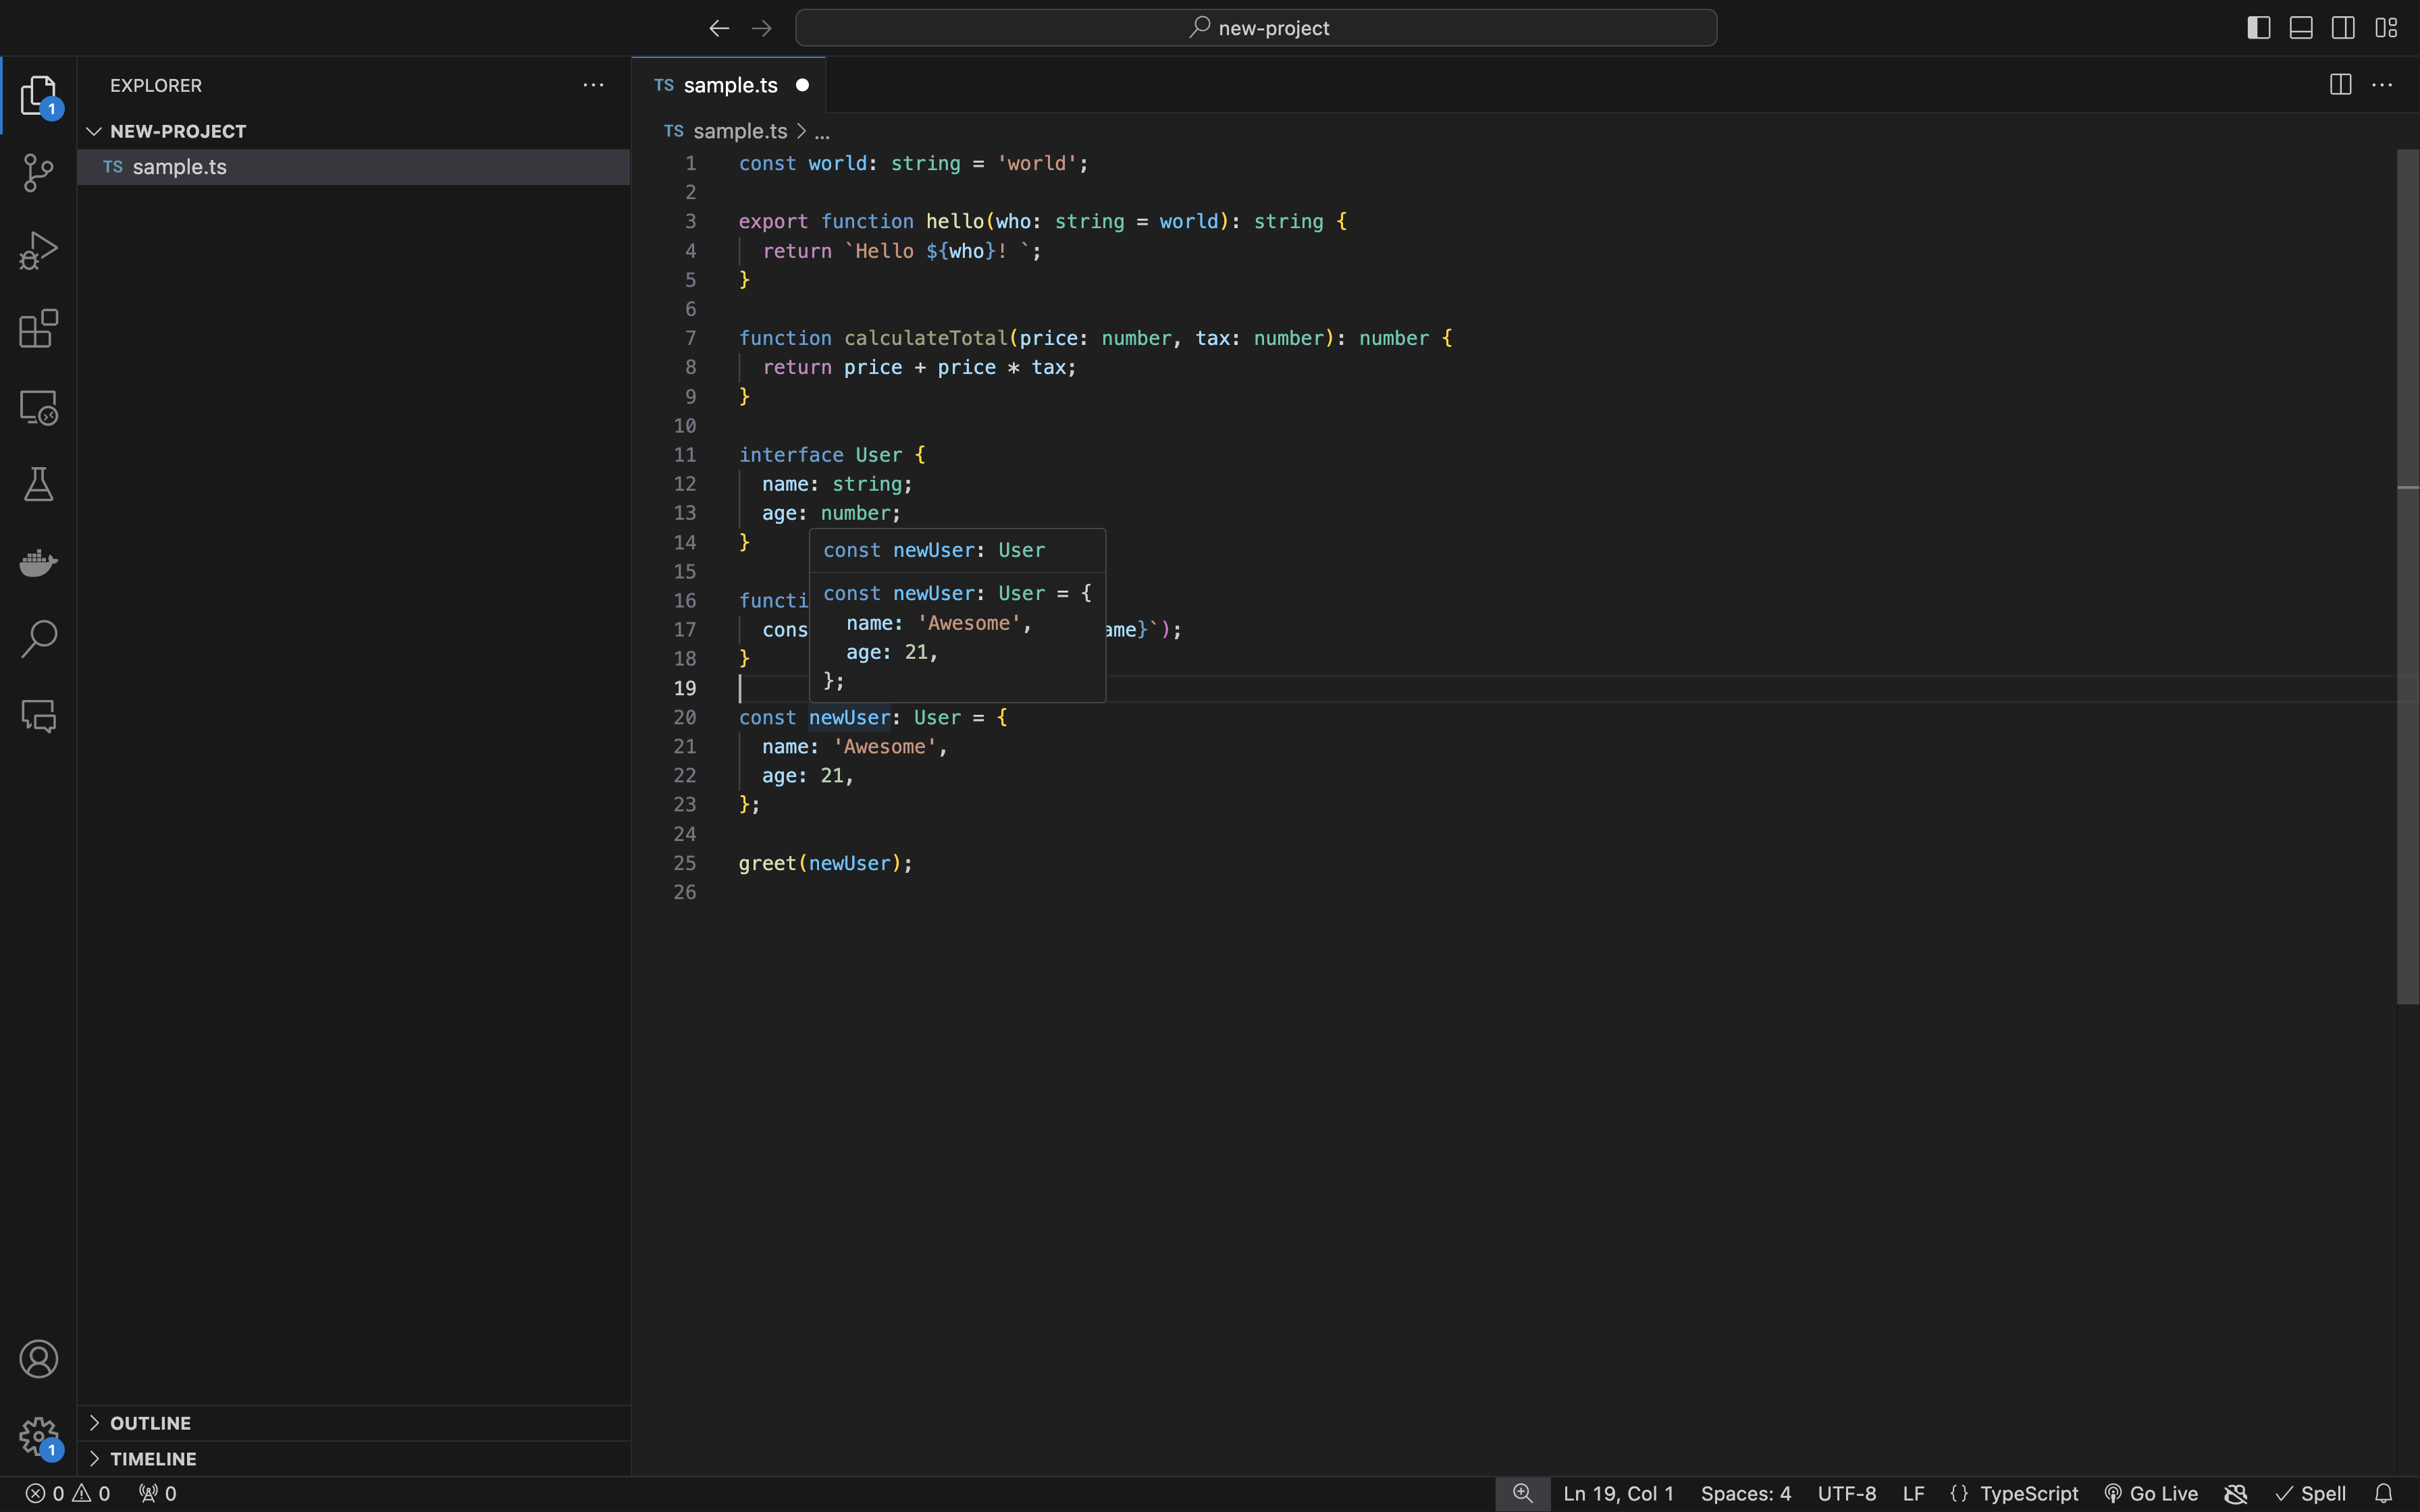
Visual Studio Code
VS Code is Microsoft’s modern take on an IDE for app development (P.S. TypeScript is a Microsoft Open Source project). VS Code has built in TypeScript support for syntax highlighting, IntelliSense code completion, and linting.
Helpful Plugins:
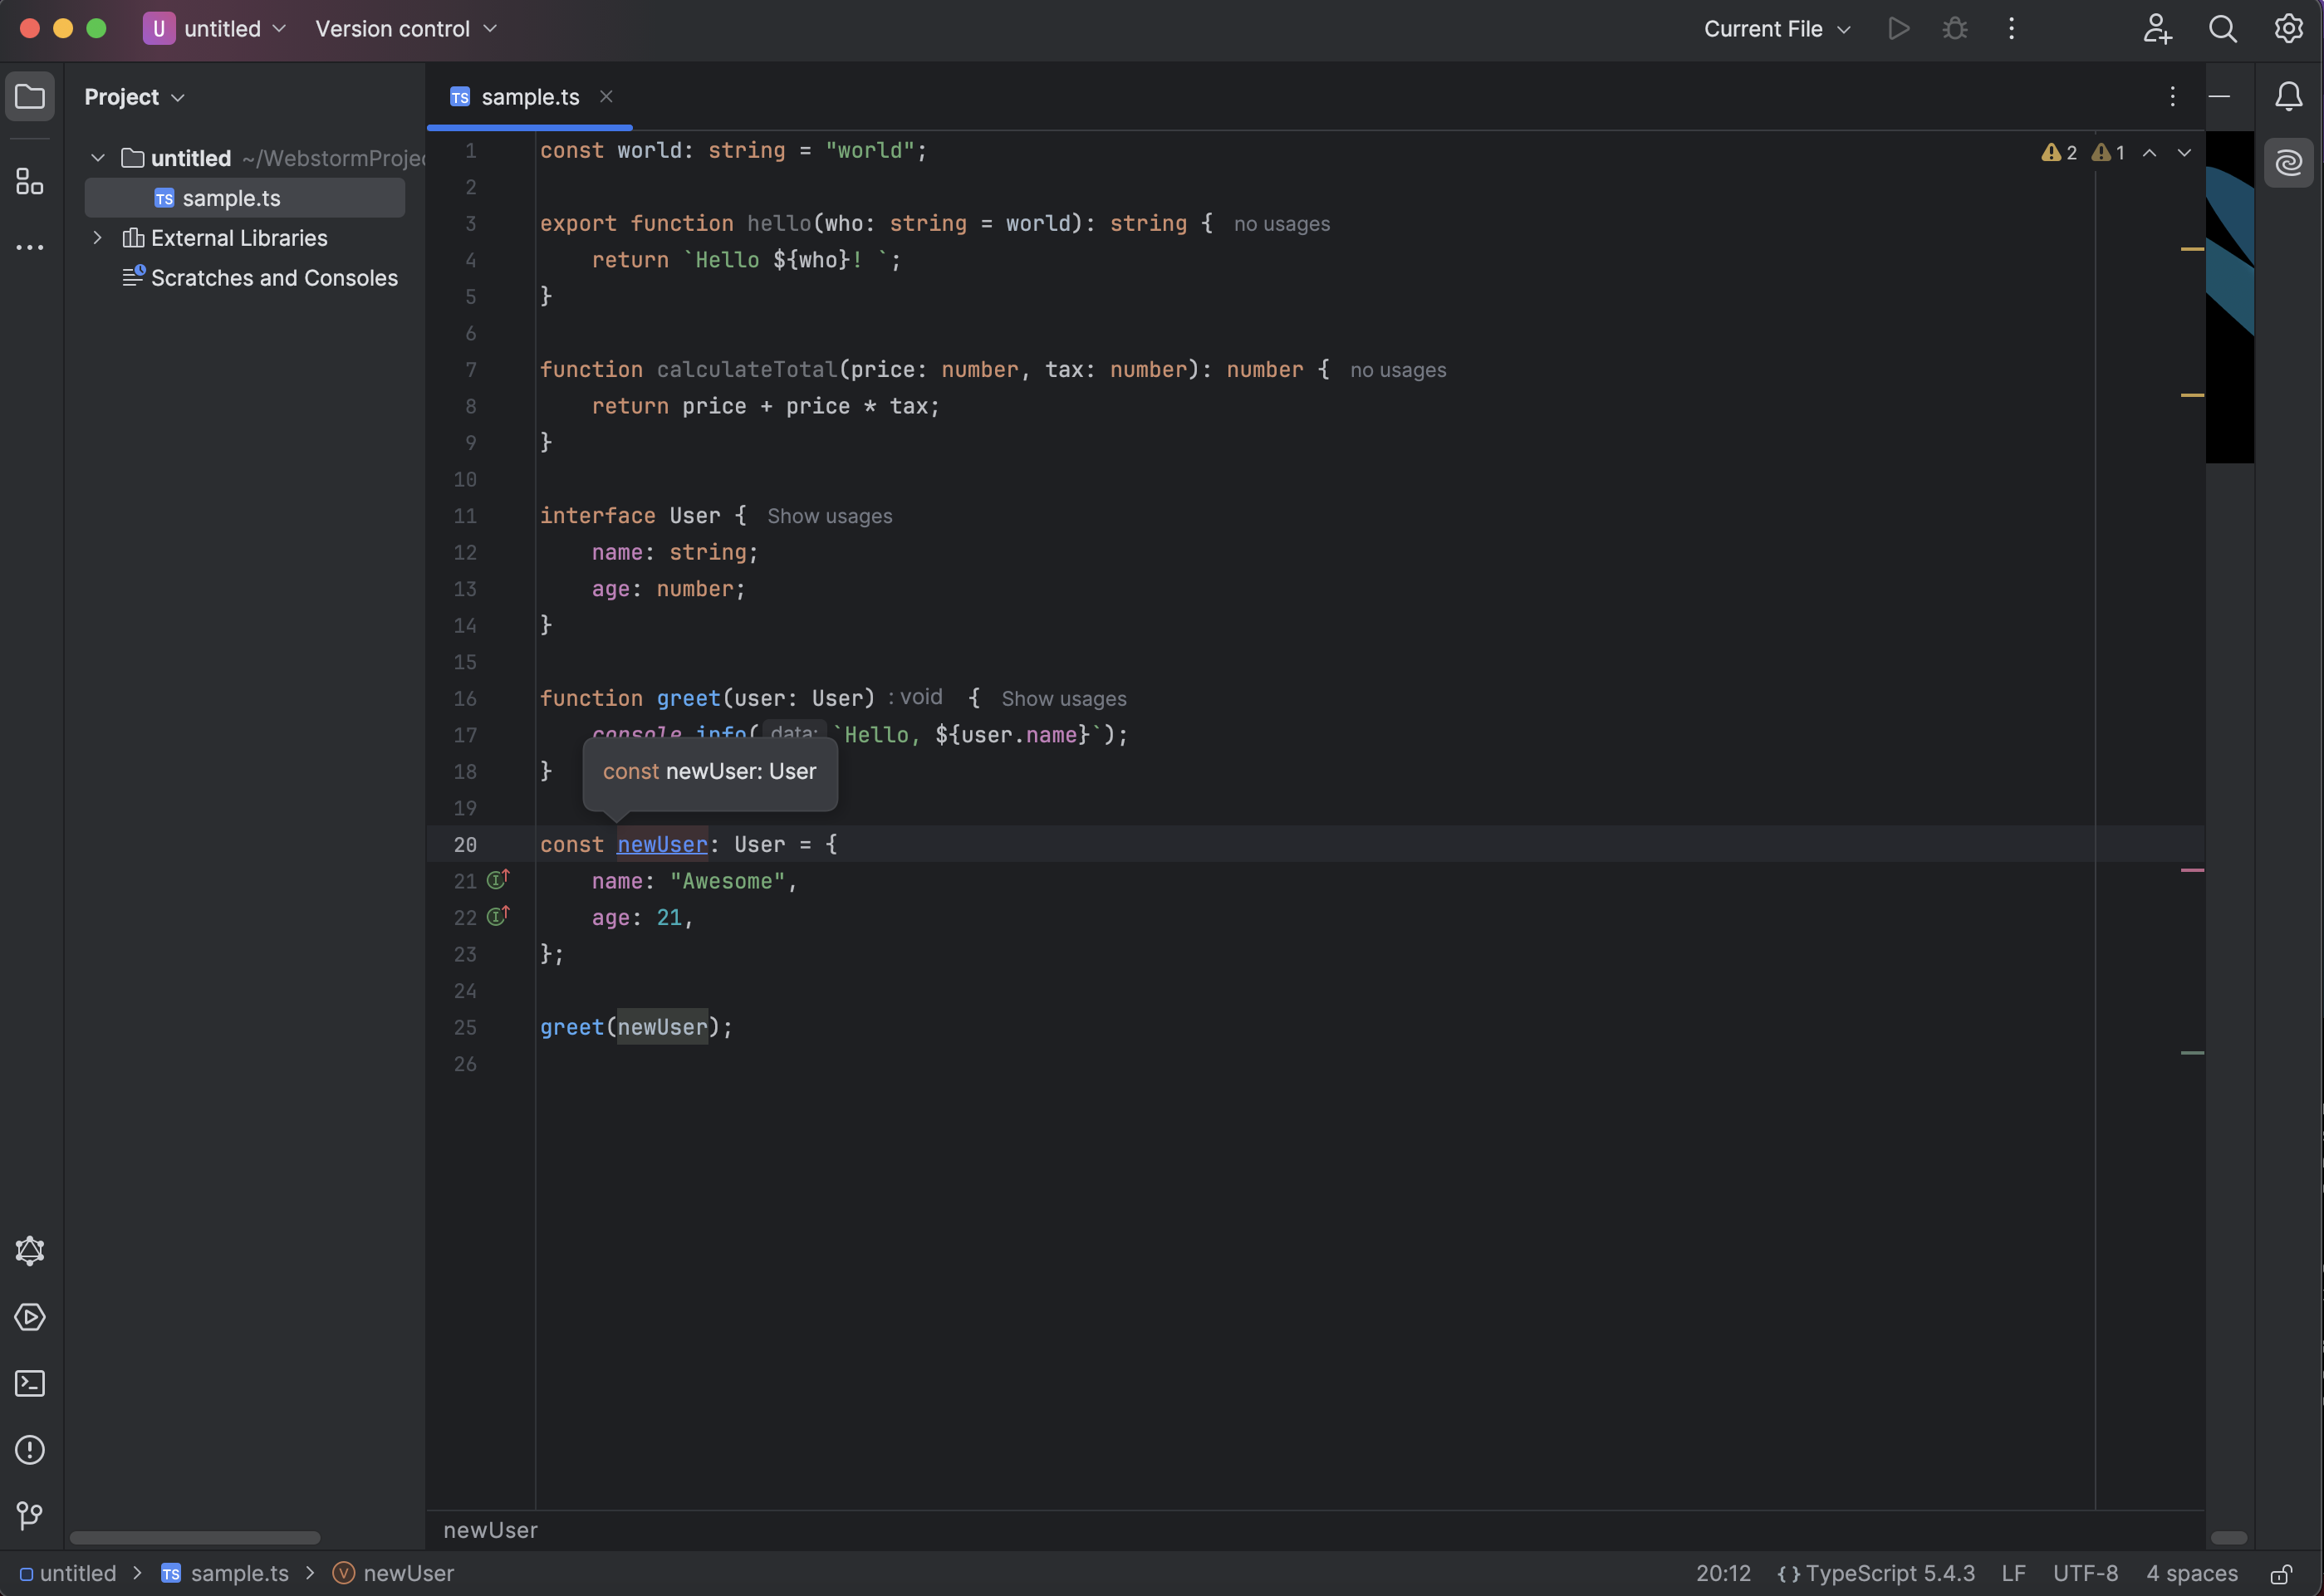
Webstorm
Webstorm is a platform by JetBrains that is loved for its great code refactoring assistance and version control integration, but it does require a paid subscription.
Helpful Plugins:
Installing the CLI
Angular has a command line interface or CLI that does a lot of the initial legwork in setting up a minimal app, as well as letting you easily create and include new components on the fly.
We’ll start by globally installing the Angular CLI using npm.
✏️ Run the following:
npm install -g @angular/cli@17
Generating a new app
Our final goal is to build a restaurant menu and ordering application, which should look something like this:
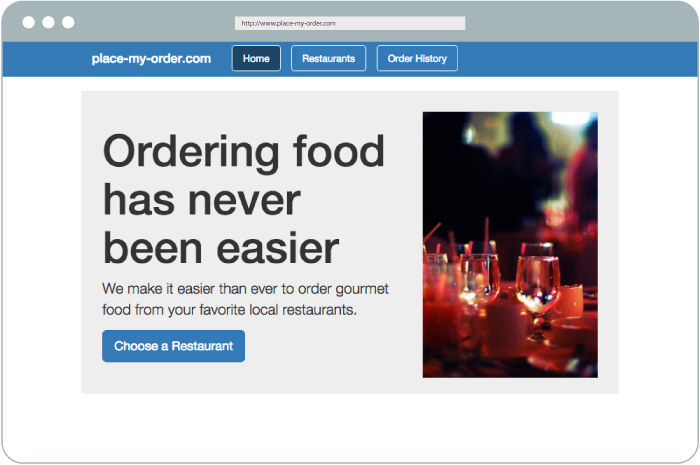
(reminder: You can see a DoneJS implementation of this application at www.place-my-order.com)
✏️ To create a new Angular Workspace, run the ng new command:
ng new place-my-order --prefix pmo --standalone false
cd place-my-order
This will create a new Angular Workspace, generate an app module, needed config files, and test suite for your new Angular project. You’ll be asked a series of set-up questions:
- Which stylesheet format would you like to use? (CSS)
- Do you want to enable Server-Side Rendering (SSR) and Static Site Generation (SSG/Prerendering)? (No)
Note that we used the --prefix property above to set our own default prefix. Angular’s default prefix is app, but a good naming convention is to use a short prefix related to your company or application name, which helps to easily differentiate from third-party utilities.
<!-- this looks like it’s one of our own app components -->
<pmo-header></pmo-header>

<!-- safe to assume this a third-party -->
<tabset>
  <tab heading="Basic title" id="tab1">Basic content</tab>
  <tab heading="Basic Title 1">Basic content 1</tab>
  <tab heading="Basic Title 2">Basic content 2</tab>
</tabset>
We also set the standalone option to false.
Standalone Angular apps drop modules in favor of Standalone Components and have a slightly simpler architecture.
While new Angular apps default to standalone true, for the purposes of this training we will still use Angular Modules.
There are several more helpful properties that customize how a project is set up.
Having issues with your local setup?
You can get through most of this tutorial by using an online code editor. You won’t be able to run our tests to verify your solution, but you will be able to make changes to your app and see them live.
You can use one of these two online editors:
Looking at Our Generated Workspace
Let’s walk through some of the files that were generated.
├── node_modules/
├── src/
|   ├── app/
|   |   ├── app-routing.module.ts
|   |   ├── app.component.html
|   |   ├── app.component.css
|   |   ├── app.component.spec.ts
|   |   ├── app.component.ts
|   |   ├── app.module.ts
|   ├── assets/
|   ├── index.html
|   ├── main.ts
|   ├── styles.css
├── angular.json
├── package-lock.json
├── package.json
├── README.md
├── tsconfig.app.json
├── tsconfig.json
├── tsconfig.spec.json
angular.json
This file is the config schema for an Angular Workspace. By default Angular configures esbuild (Webpack before v17) for its build process, and uses the angular.json file to store the build information.
(Note, prior to Angular v6, this file was .angular-cli.json. When migrating versions, having the wrong workspace config file name is a common cause for problems.)
tsconfig.json
This file contains our TypeScript compiling options. Starting from Angular 12, “strict mode” is set to true by default. Angular’s strict mode enforces the TypeScript strict flag and a few additional TypeScript rules: forceConsistentCasingInFileNames, noImplicitReturns, noFallthroughCasesInSwitch. Additionally this mode turns on Angular-specific compiler flags strictTemplates, strictInjectionParameters and strictInputAccessModifiers. This Template type checking was made available with Angular Ivy and will throw compiler errors for incorrect typings inside templates.
/* To learn more about this file see: https://angular.io/config/tsconfig. */
{
  "compileOnSave": false,
  "compilerOptions": {
    "outDir": "./dist/out-tsc",
    "forceConsistentCasingInFileNames": true,
    "strict": true,
    "noImplicitOverride": true,
    "noPropertyAccessFromIndexSignature": true,
    "noImplicitReturns": true,
    "noFallthroughCasesInSwitch": true,
    "skipLibCheck": true,
    "esModuleInterop": true,
    "sourceMap": true,
    "declaration": false,
    "experimentalDecorators": true,
    "moduleResolution": "node",
    "importHelpers": true,
    "target": "ES2022",
    "module": "ES2022",
    "useDefineForClassFields": false,
    "lib": [
      "ES2022",
      "dom"
    ]
  },
  "angularCompilerOptions": {
    "enableI18nLegacyMessageIdFormat": false,
    "strictInjectionParameters": true,
    "strictInputAccessModifiers": true,
    "strictTemplates": true
  }
}
src/main.ts
This is the entry point of our application, it compiles and bootstraps our app.
src/index.html
This should feel familiar - our main index page. Our entry component is highlighted below.
<!doctype html>
<html lang="en">
<head>
  <meta charset="utf-8">
  <title>PlaceMyOrder</title>
  <base href="/">
  <meta name="viewport" content="width=device-width, initial-scale=1">
  <link rel="icon" type="image/x-icon" href="favicon.ico">
</head>
<body>
  <pmo-root></pmo-root>
</body>
</html>
src/app/app.module.ts
This file is the root module for our app. Every Angular app has at least one module that determines how to compile and launch an app. It uses the @NgModule decorator with four properties:
- declarations
[array]: where we include components, directives, and pipes that will be used by this module. - imports
[array]: where we include any other modules our app needs to use. This may include third-party modules like bootstrap datepickers, or modules we’ve created. - providers
[array]: where we include services that we want used at the global app level - bootstrap
[array]: where we include the rootAppComponent- this is the main Application view that hosts all of our other app views.
Further reading: Dependency Injection in Angular
src/app/app.component.ts
This is our root component, you saw it called in our index.html file as <pmo-root></pmo-root>
Serving An Application
✏️ Serve the app with:
npm run start
The start script command value is ng serve which starts a development server on port 4200 by default using esbuild and Vite (webpack-dev-server before v17), to compile and serve a development version of the app. Any TypeScript errors will be caught by the compiler here, and once ready we can view our app at localhost:4200. ng serve also has live-reload functionality, meaning the browser will automatically reload as changes are saved and compiled.
Running Tests
When we use the CLI to create modules, components, services, etc, it will create spec files for us.
✏️ Run tests in a new command line with:
npm run test
How to verify your solution is correct
The change we needed to make for our tests to pass is on the highlighted line 37.
We also included schemas metadata for our module. NO_ERRORS_SCHEMA will keep the compiler from throwing errors when unknown components are included in the tested components. In unit tests we often only want to test the very small piece of code we’re working on and don’t care about deeply nested components unless we’re testing the props in a parent/child component relationship. For our purposes in this training, it’s safe to use here.
✏️ Update src/app/app.component.spec.ts:
import { NO_ERRORS_SCHEMA } from '@angular/core';
import { TestBed } from '@angular/core/testing';
import { RouterTestingModule } from '@angular/router/testing';
import { AppComponent } from './app.component';

describe('AppComponent', () => {
  beforeEach(async () => {
    await TestBed.configureTestingModule({
      imports: [
        RouterTestingModule
      ],
      declarations: [
        AppComponent
      ],
      schemas: [
        NO_ERRORS_SCHEMA
      ],
    }).compileComponents();
  });

  it('should create the app', () => {
    const fixture = TestBed.createComponent(AppComponent);
    const app = fixture.componentInstance;
    expect(app).toBeTruthy();
  });

  it(`should have as title 'place-my-order'`, () => {
    const fixture = TestBed.createComponent(AppComponent);
    const app = fixture.componentInstance;
    expect(app.title).toEqual('place-my-order');
  });

  it('should render title', () => {
    const fixture = TestBed.createComponent(AppComponent);
    fixture.detectChanges();
    const compiled = fixture.nativeElement as HTMLElement;
    expect(compiled.querySelector('h1')?.textContent).toContain('Place My Order App: Coming Soon!');
  });
});
Solution
Click to see the solution
Let’s change the markup to look like the home page of our place my order app.✏️ Update src/app/app.component.html to:
<h1>Place My Order App: Coming Soon!</h1>

<router-outlet />
When you save your changes, you should see the new h1 tag in your browser at localhost:4200.