
For the past several years I've been working with SVGs - a lot. Not surprising to myself, I quickly fell in love with them for all the reasons I love vector art. I have come up with several tricks to get lean, highly manageable SVGs that I want to share with you here.
Creating SVGs
With SVGs, optimization is king. Smaller file sizes for your application’s graphics mean faster load time. When creating SVGs, it is best to think about optimizing your graphics from the start.
Artboard = viewBox
Create a standard artboard size for all similar application graphics like avatars and icons. It is important for similar graphics to be created at the same size to reduce the possibility of clipping in some browsers and to create uniform scaling.
TIP: In Illustrator, your artboard size directly translates to the SVG viewBox size. In Sketch, your viewBox will be calculated by the height and width of the items you have selected to export.
Develop a grid
If you are creating icons, develop a grid that all project icons will be based on. This can be copied from artboard to artboard or file to file and will help to maintain consistency between icon sets or other visual punctuation in your application.
Tip: Don’t forget to remove the grid layer before you export.
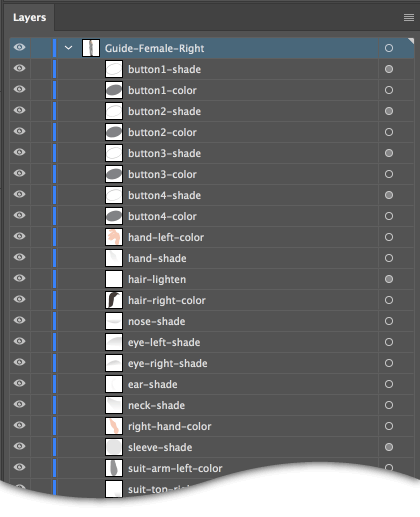
Naming
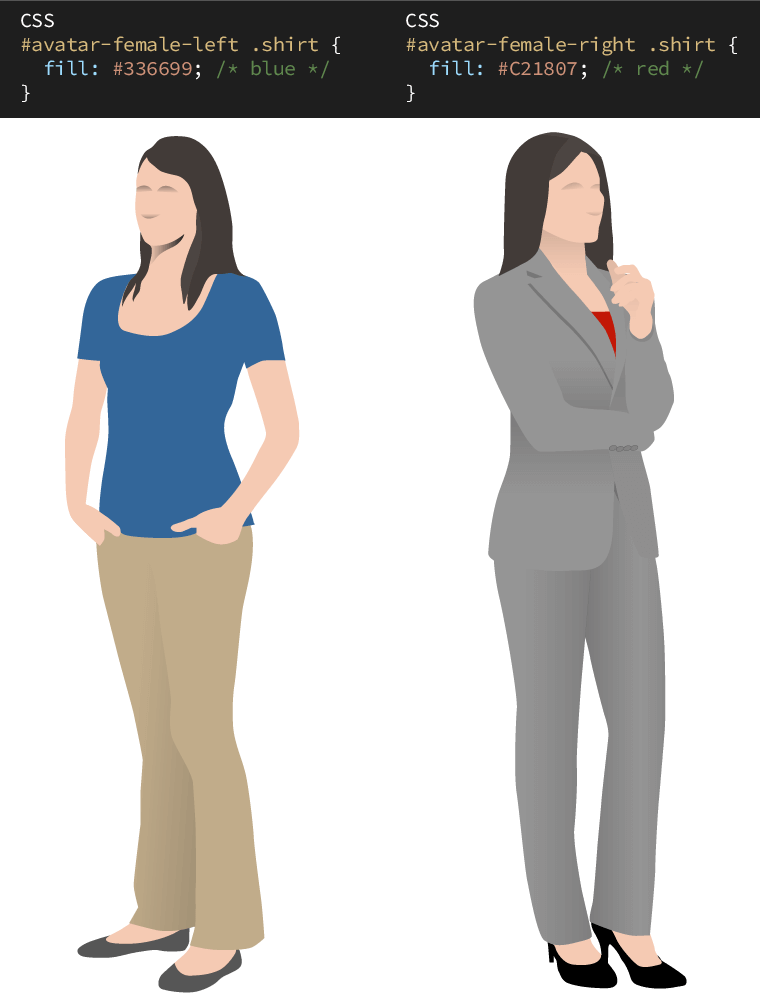
Name all of your layers and artboards. In your favorite vector program, start by naming the main layer group for your SVG (e.g. "avatar-female-left"). Naming this layer will create a unique ID for the SVG container. For example, you may be creating several avatars, each with the class names “hair”, “eyes”, “nose”, etc. Creating an ID for your SVG allows you to assign different fill colors to each avatar’s eye color without conflict in the cascade.
TIP: If the program you use to create your SVGs doesn’t capture the main grouping layer name, like Sketch, you can add this in later once you are looking at the code.
Check stroke size
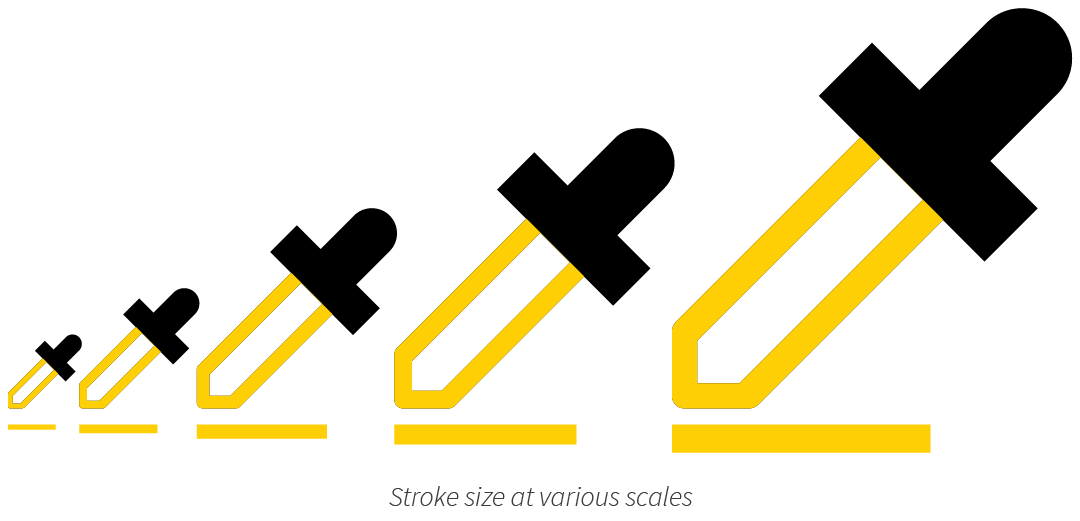
SVGs are infinitely scalable so you will want to establish a good stroke width for very small usage that still looks appropriate at very large usage. While you are testing scale, this is a good time to also assess if your icons are recognizable at very small sizes and very large sizes. Once you have established a stroke size, convert your strokes to paths before you export.
Tip: You can have strokes in SVGs, but I’ve found it is easier to control shapes over strokes when styling and animating.
Using color
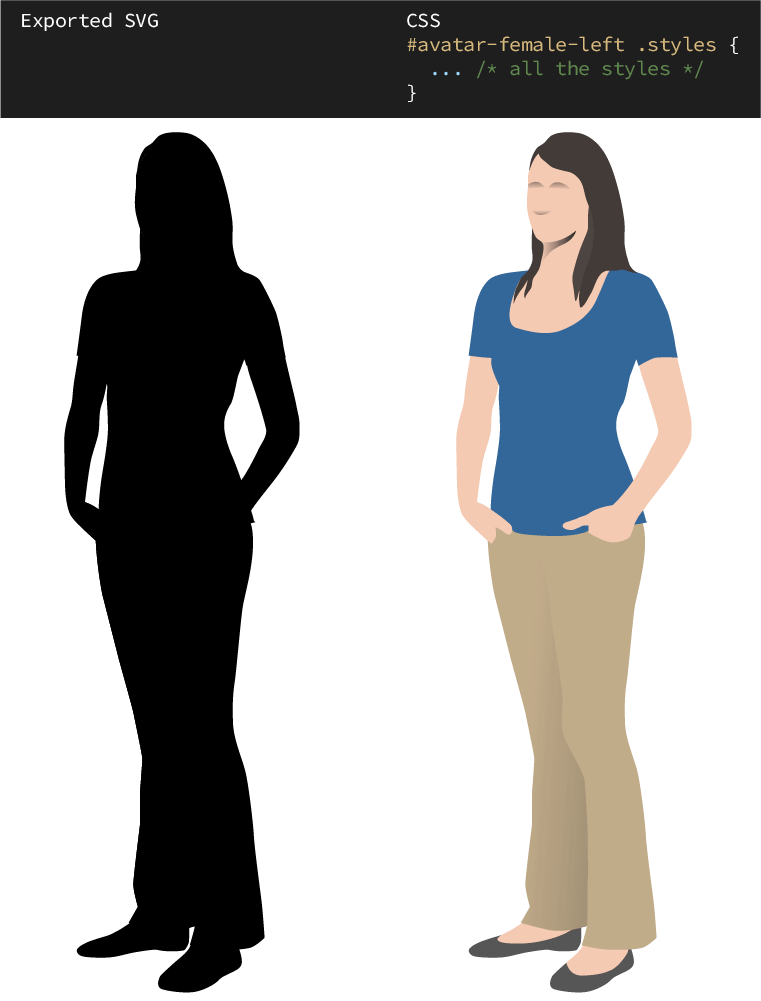
You can design your graphic using color, but before you export, it is best to make everything that isn't a gradient a solid color. It is easy to style SVGs after they have been created using CSS. To keep SVG file sizes down, it is best to output them in all black (#000000) or all white (#FFFFFF) and apply color using CSS classes.
TIP: The transition to color can be visible on screen and will look like your logo or icon is fading in.
Using gradients
SVGs don’t have to be just flat color. They can include gradients as well. You can do this and still easily control colors using your stylesheet and to keep your SVG file size small. If your graphic has gradients, use an overlay layer with a transparency/alpha applied; for example, 0% black to 40% black, and then you can color the layer below using CSS, but retain a colored gradient with one fill change!
Tip: Adjust the gradient angle for more realistic shadows.
Combine shapes
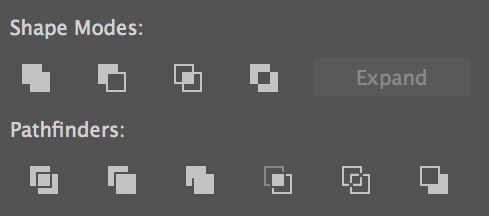
When creating your SVG, use the least amount of layers possible. Where available, combine shapes into a single shape by either redrawing two shapes as one using the pen tool or merge multiple shape paths. This will reduce the complexity of your SVG and makes controlling the shapes from your stylesheet easier and with less code.
Tip: After merging paths, ungroup and rename your layer.
No grouped objects
Remove all layer grouping where you can so you just have simple paths on your artboard. This will make your SVG less complex and easier to parse – so you don’t have to dig through group after group later when optimizing by hand.

Tip: That said, it can be easier to keep outlined text (like logo text) that is all the same color grouped for ease of control.
Name all layers
While you are going through your graphic to remove layer groups, take the time to name all of your layers appropriately; something semantic like "left-arm". This will make styling and animating easier later.
Tip: After you export you can add class selectors in a code editor to all of the ID selectors. I prefer to use classes so that I can use one style declaration, like .suit-color and apply it to multiple elements in the SVG.
Exporting SVGs
Exporting Checklist
A quick summary of what was discussed above:
- In Illustrator, make sure you named the grouping layer as discussed above
- Make sure you named all of your individual layers
- Outline all strokes
- Outline text
- Convert all solid colored objects (not gradients) to #000000 black or #FFFFFF white
- If you have a grid layer, delete it
- Export your SVG
Use an SVG optimizer
Drop your newly exported SVG into Jake Archibald's SVG OMG optimizer https://jakearchibald.github.io/svgomg. This helps to clean up the SVG and cuts size file size. There are lots of optimization options. Here is what I use:
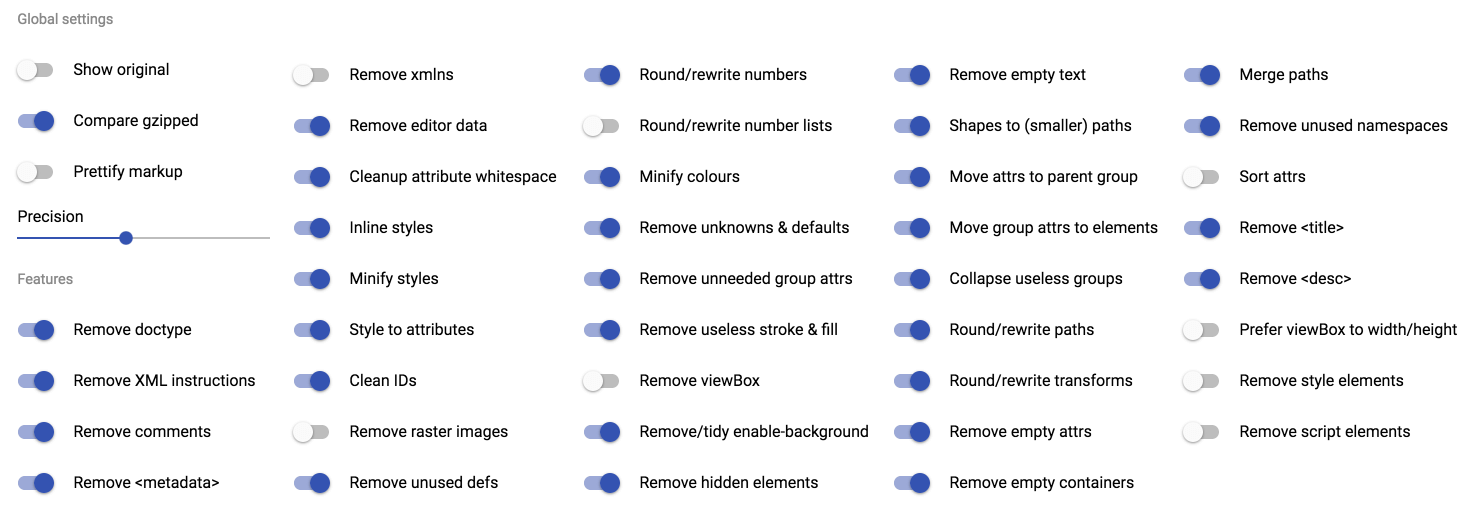
Tip: Once you have tweaked the settings to your liking and downloaded the optimized SVG, take a screenshot of your settings to refer to later.
Getting into the code
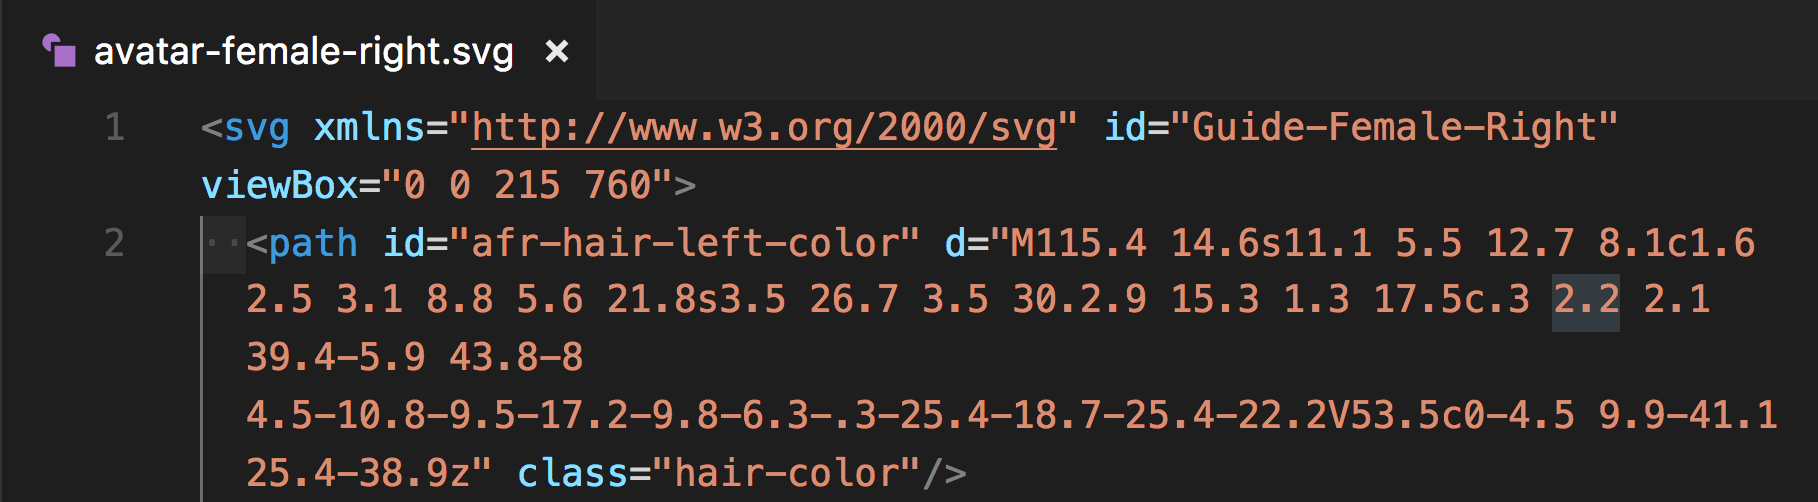
Open that file in your favorite code editor and:
- Make sure the viewBox is still the same size as intended
- Make sure there is a unique ID selector on the svg container
- Add classes to every path that you need to control from your stylesheet, for example add class="shoe-color" for paths that have selector id="shoe-right-color" and the path that has id="shoe-left-color". These ID names come from how you named your layers in the program you created your SVG with.
Using SVGs
The pros and cons of using different HTML tags to display SVGs are pretty simple. If you just plan to display your SVG as is and don’t have any need to use CSS to change the fill colors or add animations, you have two options:
- Just like any other graphic format, display the SVG with the <image> tag
- Within your stylesheet, display the SVG as a background-image
Both of these options limit you to needing internal, embedded styles in your SVG to color the graphic and the only control you have over the graphic in CSS is related to sizing.
The <object> tag offers similar drawbacks as the <image> tag and CSS background-image methods, but with <object> you can include a link to a stylesheet within the SVG, giving you full styling control. The downside to this is that if you change stylesheets in the future, or your stylesheet gets renamed, you will need to remember to make that change within your SVG file as well.
Tip: More details on this from Chris Coyer at CSS-Tricks.
Inlining SVGs
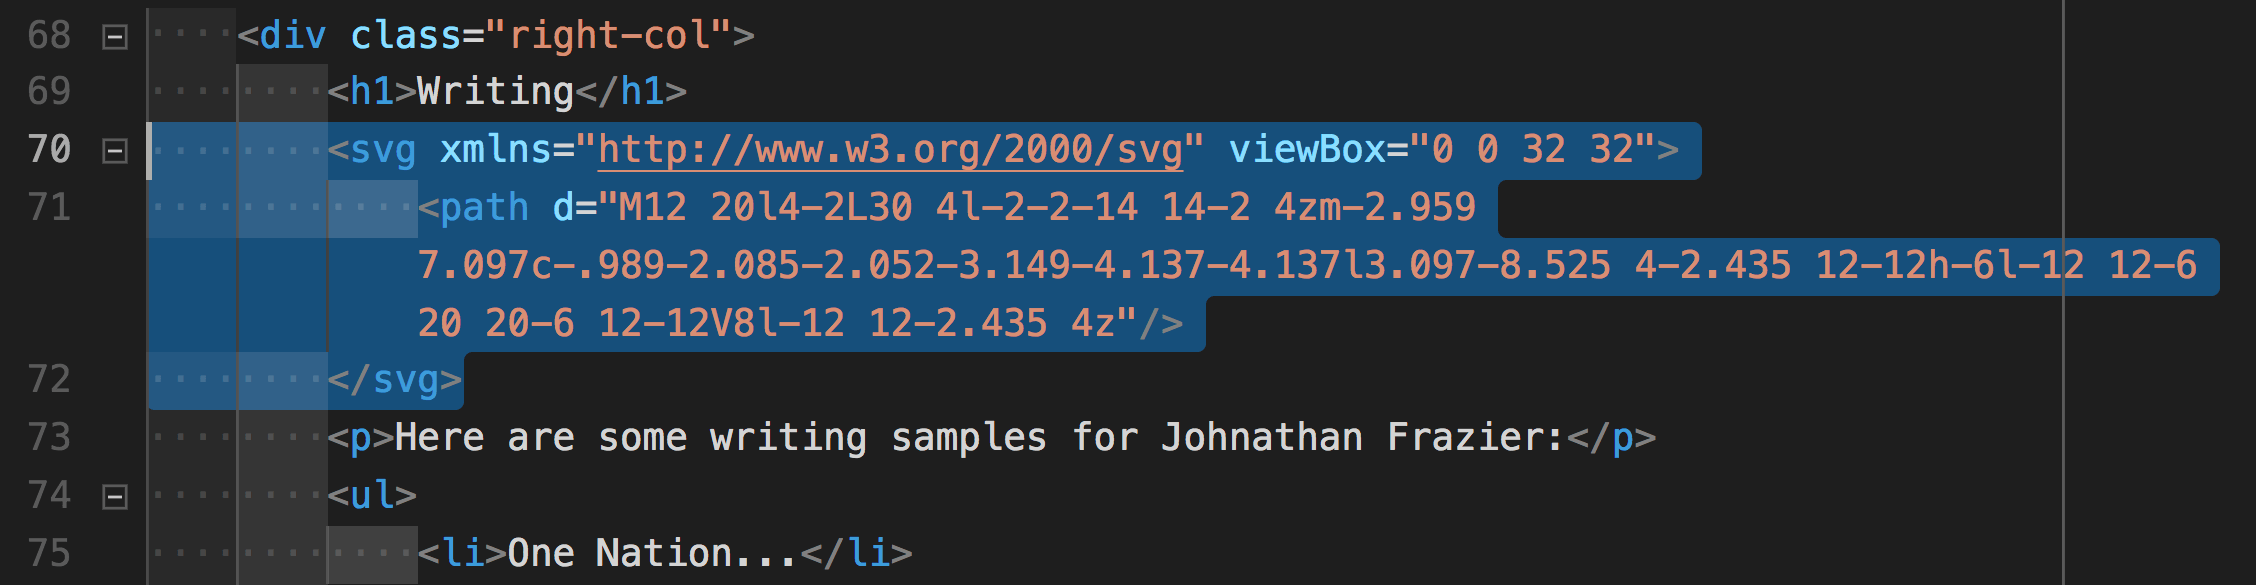
The option I prefer for my projects is inlining the SVG into the HTML; <svg>...</svg>. Inlining your SVG allows you to control the styles in your SVG using the same style sheet(s) you use in your application. This gives you the ability to modify color fills, animate id and class selectors, etc. The only downside to this that I have found is an increase in HTML file size by the size of your embedded SVG. One more reason to optimize your SVG!
Tip: For better management of your SVGs, work with them in their own file, then select all and paste into your HTML file.
SVG Icon Typefaces
Another way to place SVGs is using icon fonts. You can learn about that in my related post, Creating an SVG Icon Typeface.
Closing
When building website and web apps, we want fast loading, clean graphics, and responsive scaling. Scalable Vector Graphics (SVGs), when created, optimized, and used correctly help drastically cut your site/app file weight. SVGs are easy to style and animate using CSS.
What are some of your best SVG best practices? Leave a comment below.

Next Post