
We’ve all been there, we start designs for a new project and have the best intentions to test our designs with users. However when priorities are defined, “shipping it” gets in the way and our good intentions are blown away. The good news for Agile teams is that there is a workflow for making usability testing part of your design process. In this post, I will share 10 best practices to help you get there:
- Plan like a boss
- Make usability testing a story
- Test little, but test often
- Find participants: soon!
- Create a script, and stick to it!
- Run a pilot test
- Embrace templates!
- Invite your team to the testing sessions
- Be specific during the debriefing
- Go with the low hanging fruit
1. Plan like a boss
Approach usability testing like a pro by creating a simple, yet informative, Usability Testing Plan, which you can share with your team and get buy-in for doing testing as part of your design work. “Wait, do I have to sell this idea to my team?” The answer is YES! Part of the Agile spirit is working as a team, and because most people don’t see the value of it yet, it’s important to make the case and explain why, what, and how you will test.
-
The why - If your team is new to usability testing, brief them on why usability testing is so important. The point is to make everybody comfortable with the idea.
-
The what - Think about the current needs of your project. This will
help you evaluate what you should be testing and in what priority.
Remember, at this stage, you want to keep the plan at a very high level. -
The how - Will you use prototypes or live code to test? Will you
conduct tests in a lab or remotely? How often will you test? Sorting this out will help your plan take shape and anticipate possible questions from your team.
I find it useful to also include an illustration of the testing cycle as this helps understand better what’s involved in conducting the usability test and how it will play out during the sprint.
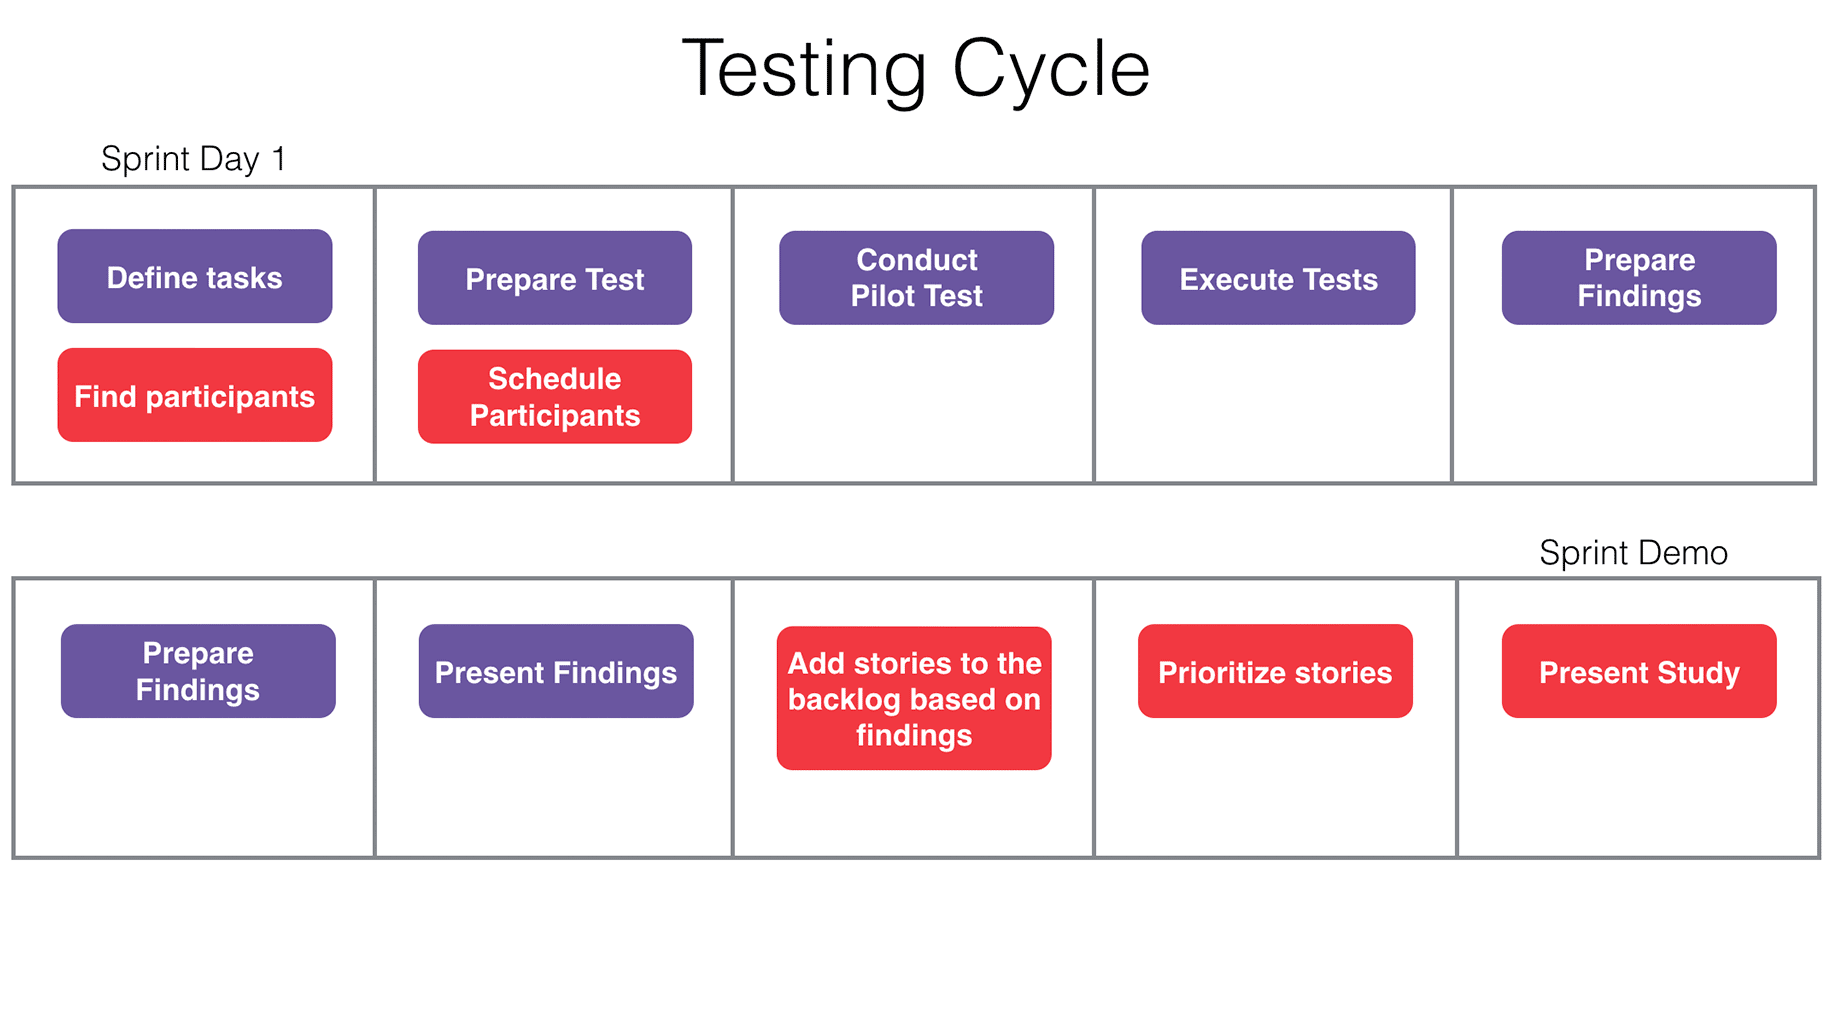
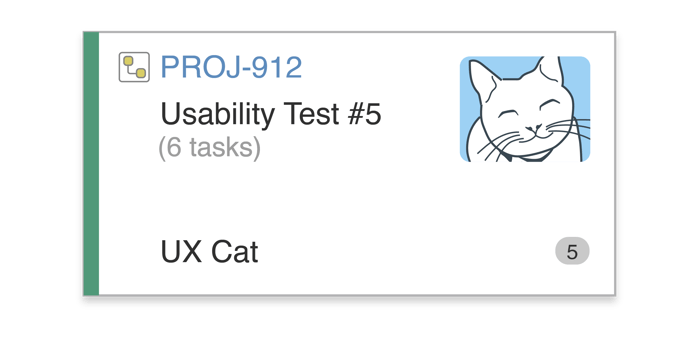
2. Make usability testing a story
Usability testing should be added as a design story in the project backlog. Actually, it should be multiple stories! The idea is to test little, but test often (more on that in number 3), so adding multiple stories in the backlog for usability testing will help the team prioritize and plan accordingly.
Once the story is in the backlog, you can break it down into multiple tasks:
- Defining the tasks to be tested
- Scheduling participants
- Preparing the test
- Conducting the test
- Preparing and presenting findings
- Creating stories based on findings*
*This one is key as it will ensure findings are actionable.
When usability testing is a story, it will make your tasks visible to the Agile team during the sprint. It will also help report on your progress during scrum and is a great way to internally socialize usability testing.
3. Test little, but test often
Because you will be testing often, you can focus on testing just a few things each time. Identify the most important tasks to be tested (an average of 5 tasks is a good number). This will help you keep the tests short and doable during a sprint.
Include these tasks in a “mini-plan” for the specific test in addition to:
- Objectives
- Format
- Scenarios
- Tasks
Creating a “mini-plan” will help you develop the test as well as writing a final report or findings summary. I especially find it useful to connect each task to a goal, as I can then evaluate if the goals were met and quickly summarize the outcome in debriefing sessions.
4. Find participants: soon!
Since usability testing depends on having participants, be sure to find and schedule participants as soon as possible, even if details about the test are still being worked out. But where do you start? Here are a few ideas:
-
Ask the product owner or stakeholders on your project. Many of them know actual users that would be happy to participate.
-
Recruit people via the HR department. They have access to all of the company’s staff and can help you recruit employees and new hires that are not familiar with your project.
-
Use a remote testing tool. If testing remotely, you can try online applications like Ethnio or (our preference) UserTesting.com. Ethnio works for finding participants and UserTesting for finding and conducting the test. There is a wealth of user testing apps that can get you what you need.
-
Find them on the streets and in coffee shops! If this is an option for you, you might be able to find participants just about anywhere. You may meet very interesting people on the way.
When booking participants:
-
Schedule the tests consecutively, but allow 15-30 minutes between sessions for quick breaks (e.g., to stretch, use the bathroom, have a snack, mentally decompress, relieve your hand cramp from taking notes). This will help you focus and dedicate an entire morning to just testing vs jumping back and forth between tests and other tasks.
-
If you are going to record the session, get participant permission first for privacy and legal reasons. Some people may not feel comfortable being recorded and it’s good to let them know prior to the test. You might even have them sign a consent form.
-
If conducting the test remotely, make sure participants will be able to access the app or prototypes to be tested.
5. Create a script, and stick to it!
Prior to conducting the test, write down exactly what you plan to say during the test, practice it, do a dry run/pilot test of the study to make sure you won’t run out of time (e.g., a co-worker can serve as your practice participant), and then stick to the script once the test starts. This works well because it helps you keep focused and on time. Usability testing is about crafting tasks that actual users would perform in real life, then observing and listening to what actually happens.
Include in your script:
-
Notes to yourself. Write down tasks that you should not forget to do or mention, like starting the recording or even noting that the session will be recorded.
-
An introduction to the test. Explain how the test works and how long you estimate it will take. Also, state how many tasks there are and prompt participants to tell you when they think they are done with each task. This will help keep the test moving.
-
Information about each task. Provide the scenario for each task to encourage the user to engage with the interface as they would do in a real-life scenario.
-
Closing Remarks. Use the end of the test to ask the participant clarification on any actions that were not straightforward. Many people have a hard time voicing what’s in their heads. Also, allow time for them to ask questions and then thank them for their time.
At Bitovi we use this script template. Feel free to download and edit it to your needs.
6. Run a pilot test
Before conducting the actual test: test the test! For this, find a “neutral” participant with whom you can share your design, but who doesn’t know much about it (e.g., a developer from another team). Then, conduct a pilot test to simulate how the actual test will work.
Use the pilot test to:
-
Verify prototype functionality. The last thing that you want is for a participant to get stuck in a flow because you forgot to include an interaction in the prototype.
-
Validate your script. Practice using your script, paying special attention to whether or not the user understands the tasks, and then adjust accordingly.
-
Time the test. Use the pilot to time how long the test session will go, from start to end. Doing this will allow you to adjust your script and make sure tasks are doable within the proposed time frame.
7. Embrace templates!
Since conducting a usability study has many repetitive tasks, having a few templates that you can use will make the process smoother.
These templates are the ones that I find the most useful:
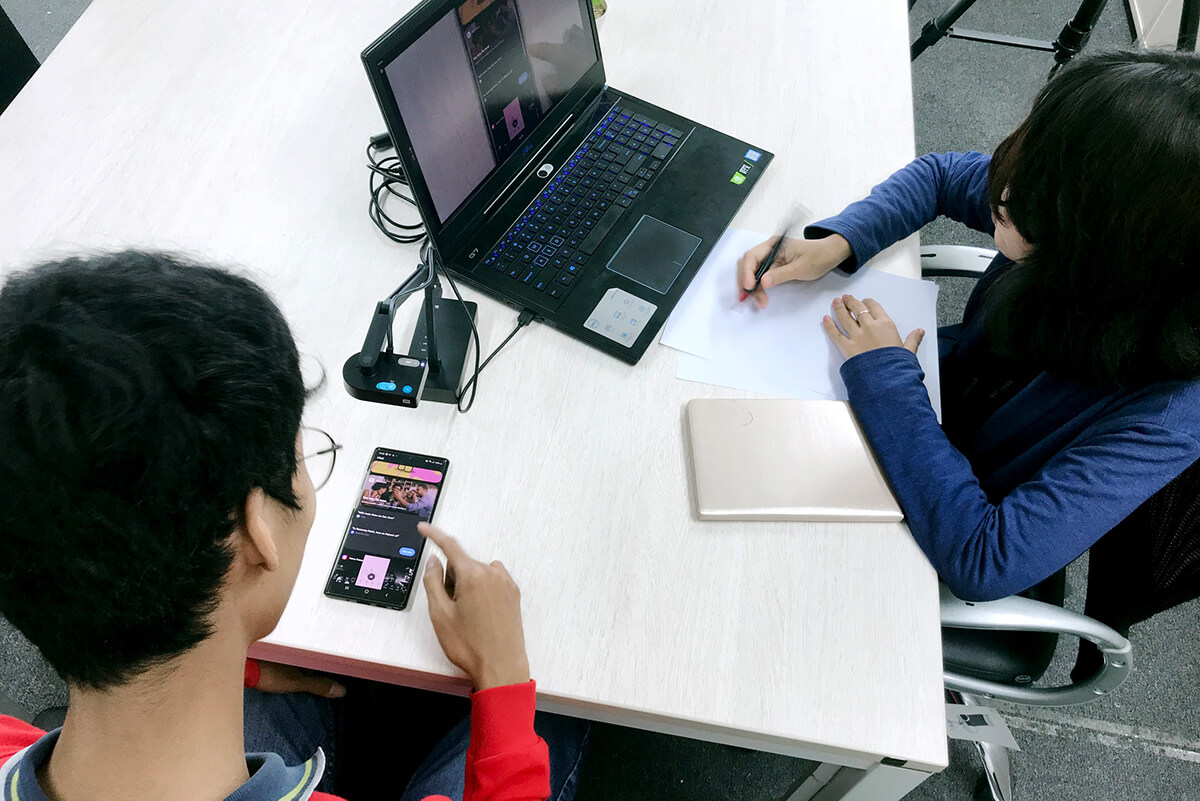
8. Invite your team to the testing sessions
Inviting your team to be observers during the testing sessions is a great way to promote a user-centric culture. As an observer, everyone can learn more about the users and have empathy for their needs. Remember to set boundaries for observers: they are to be invisible and silent. Listen and do not interrupt. The session facilitator (you) is the only person who should be asking questions or having any interaction with participants. It is not uncommon for observers to get excited, jump in, and start questioning users, who feel startled and upset.

Ask observers to take notes during the test and to send you the 3 most important learnings they noticed. Compare with your notes and include conclusions as part of the debriefing meeting.
Not everyone will be able to attend all of the sessions, so it’s good to keep the team updated about what’s happening during the sessions by reporting any changes on the schedule or location, as well as sharing recordings, video clips, or “highlight reels” of the testing sessions, when available.
9. Be specific during the debriefing
To conduct an efficient debriefing meeting, present your findings describing not only what is not working, but also the reasons why this is the case.
A good way to uncover these reasons is to observe the flow each of the participants took to accomplish their task and then note any pain points. For example, the following flow illustrates two different paths to accomplish a task.
- Scenario: Imagine you want to buy a blue chair and you want to ship it to the zip code 12004.
- Task: Go to [url] and add to the cart a blue chair.

In the flow above, Participant #1 wondered about the shipping cost of the item, but this didn’t prevent him from adding it to the cart. On the other hand, Participant #2 got stuck on the product page as he couldn’t figure out if the product shipped to the zip code provided in the task.
Then you can divide these pain points into:
- Issues that hinder the experience (in yellow)
- Issues that halt the experience (in red)
Visualizing each of these flows side by side will help to paint the picture of where the issues are and identify the specific causes. Then, during debriefing, you can share your findings with the team along with the flow analysis and provide more insight into the conclusions of the study.
10. Go with the low hanging fruit
While a usability study can surface many issues (even some that weren't part of your specific study) it’s good to step back and ask yourself: “What is the minimum that can be done to improve the user experience?” The idea is to focus on the small items that can be done within the next sprint, even if these don’t solve bigger issues.
Finally, be sure to convert all of the findings into stories and add them to the backlog. Usability studies can’t create a real impact if findings are not documented and tackled during the following sprint cycles.
Additional Resources
Here are some resources to bookmark. Be sure any other resources you dig in!
- Usability Testing Templates - (Bitovi)
- Rocket Surgery Made Easy - (Steve Krug)
- NN/g User Testing Section - (Nielsen Norman Group)